Integrate JIRA with ITM Platform
With the JIRA connector, managing the time and productivity of your developers is easier than ever. You can push projects and issues from JIRA onto ITM Platform or plan with ITM Platform and push projects and issues to Jira Software.
The Jira Connector is a built-in extension in your ITM Platform environment. You will find them in the Extensions Panel, under the CONFIGURATION menu.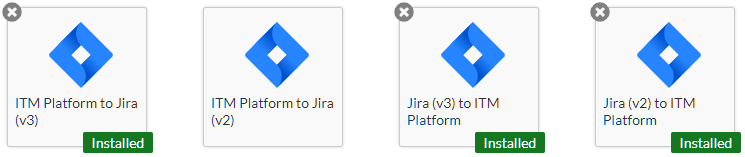
You will notice two sets: (v2) if you have an on-premises v2 API installation and (v3) if you use the cloud version of Jira Software, which uses the v3 API.
Establishing the connection
Click on the connector you wish to use, click on “Install,” then “Configure.”
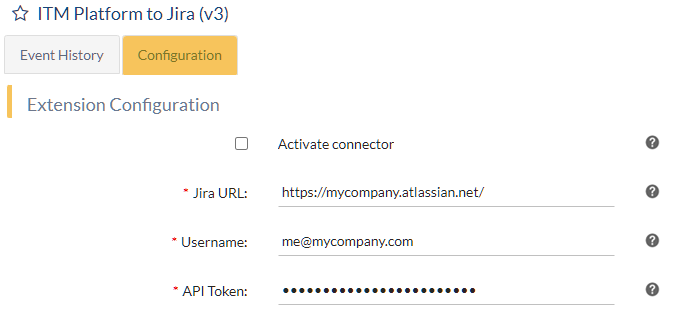
The v2 version of Jira admits user and password, but the v3 –shown in the picture-requires a Jira API Token. Learn how to generate it in the article Manage API tokens for your Atlassian account.
Click “Save” to register your credentials, test the connection, and proceed to the next steps.
Configuring ITM Platform to Jira
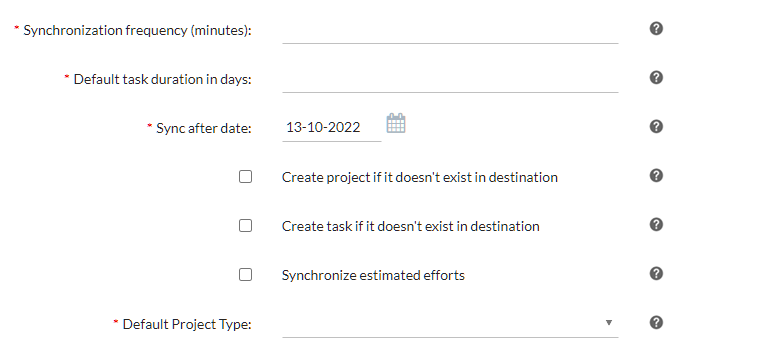
You can define whether projects and issues should be created in Jira if they don’t already exist by ticking the checkboxes that indicate so.
The next step will be the “mapping,” where you indicate the connector the equivalences between ITM Platform and Jira entities.
- ITM Platform Project Type ↔ Jira Project Type
- ITM Platform Task Type ↔ Jira Issue Type
- ITM Platform Task Priority ↔ Jira Issue Priority
This connector is triggered by a system event, which means that every time there is a change in ITM Platform, it will synchronize it with Jira.
Configuring Jira to ITM Platform
Apart from the synchronization and the date from which JIRA projects and issues should be synced, you can configure in the Connector which project categories and issue types should be synced to ITM Platform and which not. You can also set the default duration for issues/tasks with no due date in JIRA.
What will happen to my tasks and projects on ITM Platform?
That depends. Native ITM Platform projects and tasks will not be affected. Projects and issues pushed from Jira will respond to Jira. Their parameters on ITM Platform will be overwritten after each synchronization cycle. If you have projects with the same name when the connector synchronizes, it will add the Jira issues to the project on ITM Platform. We have included several adjustable settings so you can make the most of them:
- Choose what you want to synchronize. Apply filters to the Connector so you only push relevant information to ITM Platform, including Jira project categories or issue types.
- Choose how often you synchronize. It’s up to you whether you want updated info by the minute or hourly, daily, or weekly cycles.
- Tell Connector when to start if you don’t want to import large amounts of historical data.
What about team members who are on Jira but not on ITM Platform?
If your team members on Jira don’t have an ITM Platform license, they will be added as “no-login” users so you can track their activity. You can also assign them a new license anytime if they need to access ITM Platform.
How are ITM Platform fields related to Jira Response keys?
For full disclosure, the full mapping of JIRA response keys with ITM entity fields is below.
- Project name – Project Name
- description – Description
- key – Company Project Code
- id – JiraProjectId
Project Type
- name – Name Type
- description – Type Description
- id – JiraProjectTypeId
Task
- summary – Task Name
- description – Description
- emailAddress – Task Creator
- duedate – Task End
- created – Created Date
- updated – Updated Date
- created – Task Start
- id – JiraTaskId
Task Status
- name – Status Name
- description – Status Description
- Category(name) – Status type
- id – JiraStatusId
Priority name
- Priority name – Type Name
- Priority description – Type Description
- Priority id – Priority ID
Task Effort
- timeoriginalestimate – Estimated Effort
- timespent – Actual Effort Accepted
- Task Team emailAddress – Project Team Members (get username from the assignee Email Address and first insert in the project team and then in task team).
Activate and track
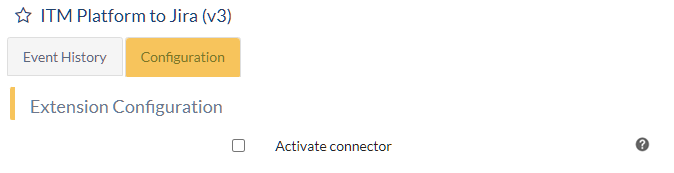
Last, you will need to activate your connector and save. From then on, your ITM Platform account will be synchronized with Jira, and you will be able to track the synchronization actions in the Event History tab.
For more on extensions, refer to the Standard and Custom Extensions article