Custom fields
If you need to display project or task information that is not readily available in the ITM Platform environment, you can create custom fields. These are essentially placeholders for storing additional information about projects and tasks.
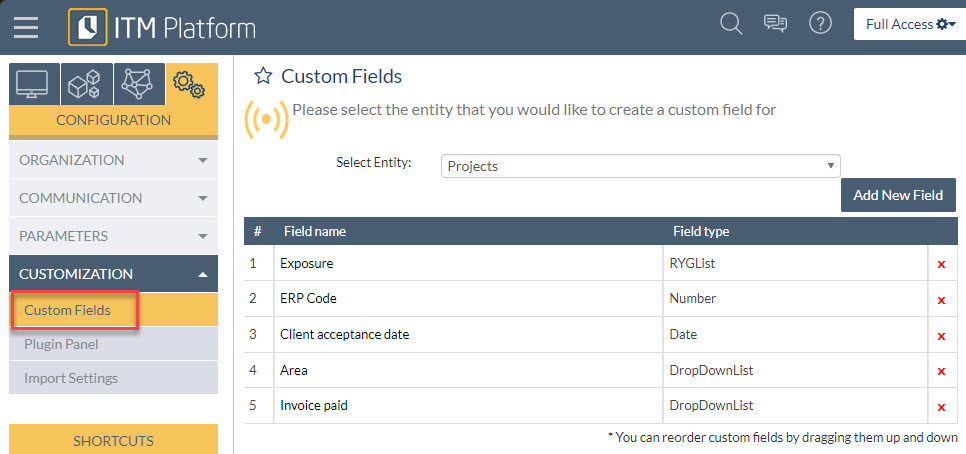
To create a custom field, navigate to the menu: CONFIGURATION > CUSTOMIZATION > Custom Fields. Here, choose the Entity (project, task, purchase risk, etc.) for which you want to add or modify a custom field. Once selected, you’ll see a list of existing custom fields (if any), as well as a button to create a new one.
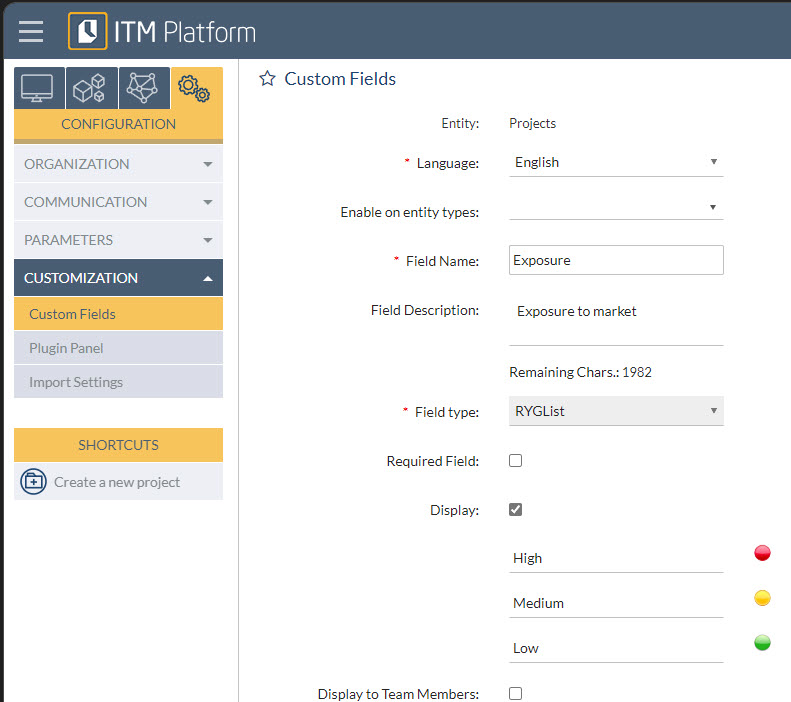
To set up a new custom field, complete the following steps:
- Edit the Field Name. If your organization operates in multiple languages, you can set the name in each of the languages supported by ITM Platform.
- Select the Entity Type to specify which entities your custom field will apply to. For instance, you may want a “number of bricks” field to be applicable only to construction-related tasks.
- Choose the Custom Field Type (date, dropdown, list, HTML, RYG, etc.). Additional options will appear based on the type you select.
- Determine whether the field is required. Keep in mind that users won’t be able to create new entities unless the field is completed.
- Finally, check the “Display” option to make the custom field visible. For some entities, like Tasks, you’ll also see a “Display to Team Members” option. If left unticked, only project and task managers will be able to view the field.
In summary, custom fields provide a basic level of flexibility and customization to the ITM Platform, enabling users to capture and display unique project or task information that may not be available by default. By configuring custom fields, organizations can tailor the platform to better fit their specific needs and requirements, thereby improving project management and team communication


