Zapier Integration

Zapier Integration

Zapier is an online automation tool that can connect a wide variation of apps to ITM Platform and let these apps automatically create tasks in ITM Platform for you.

How to connect ITM Platform to Zapier

  • When you start creating a Zap with an ITM Platform action for the first time, you will be prompted to connect a new ITM Platform account
  • Click the button ‘Connect a New Account’ and enter your ITM Platform login details. Please note that you can get the Account Name from your ITM Platform login URL. If for example you log in at https://app.itmplatform.com/my_account, your Account Name is ‘my_account’.
  • Once you have entered the correct log in details, click the button to continue and the pop-up will close. You will now see your recently added ITM Platform account ready for use.
  • You can click the ‘Test’ button, to verify that your account is connected correctly with Zapier.

Once you have connected ITM Platform to Zapier, you can create more Zaps by checking out our list of Zap templates or creating your own from scratch with the Zap Editor.

Collecting your requirements as tasks on a Google Sheet

We have created a pre-formatted Google Sheet so you can jump right into the Google Sheet-ITM Platform zap and document your project requirements as you go. The sheet captures the value mapping and is adapted to the parameters that you would likely use to define a task. You can see it here.

If you have more questions, please ping us on support@itmplatform.com

How to activate ITM Platform Teambot on Slack

How to activate ITM Platform Teambot on Slack

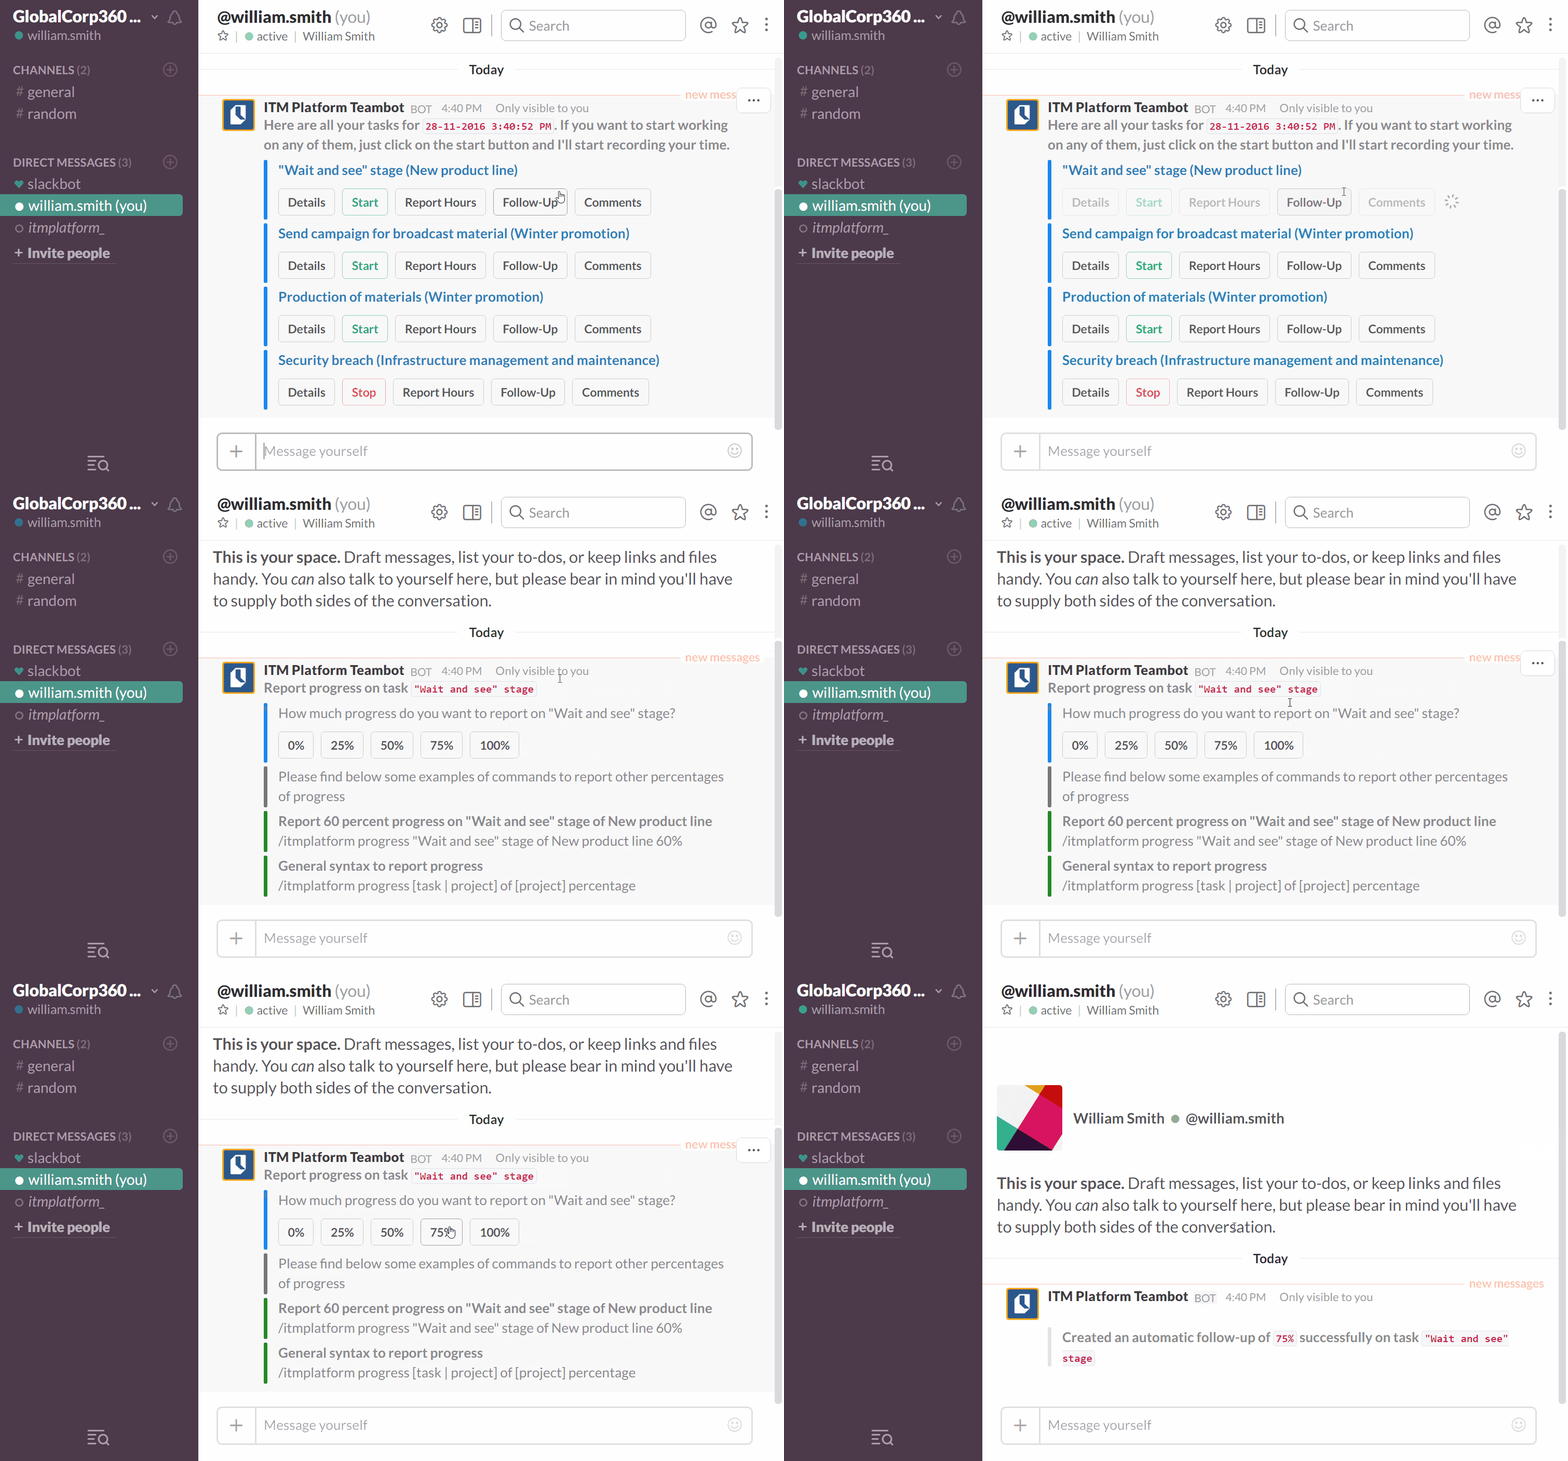
ITM Platform Teambot is for team members and it allows them to complete most of their actions from the messaging service Slack, including:

  • Recall projects and tasks
  • Report hours on tasks
  • Follow-up on progress
  • Add comments to tasks and projects

Activation instructions for existing teams on ITM Platform

Requirements

Existing  ITM Platform teams only need to go through the authentication process once to activate Teambot on Slack. We recommend that the company admin goes through this process.

Remember that, in order to successfully activate ITM Platform Teambot, you will need:

  • An active company environment on ITM Platform.
  • Active team member licenses on ITM Platform.
  • A Slack team of which you are a member. If you have a team but haven’t joined yet, make sure to join first. If you’re not on Slack, you can create a team for free on www.slack.com.

Note: In order to successfully use ITM Platform Teambot, the users of your company who have been assigned to team member roles on ITM Platform need to be part of your company’s Slack team. If any of them is on different team on Slack, the authentication process will have to be completed again.

Activate ITM Platform Teambot in 5 easy steps

1. Sign into the Slack team you want the app to be linked to

2. Select ITM Platform Teambot at the Slack app directory and click on the “visit site” link on the listing

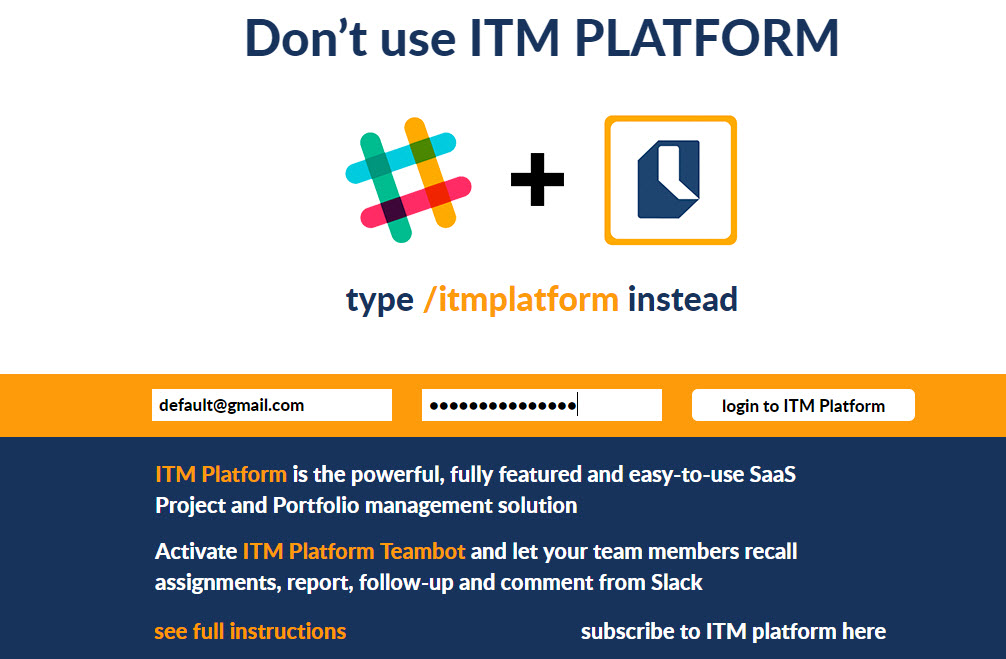
3. If you were not logged into ITM Platform, enter the e-mail address linked to your account and your password, then click on “log into ITM Platform” for authentication.

4. When already logged into ITM Platform, click on “add to slack”

5. Authorize the app

Activation instructions for companies that are not currently using ITM Platform

We have a special freemium bundle that allows companies which are not currently using ITM Platform to try Teambot.

Visit our Teambot web site and subscribe to ITM Platform. You will then be given the option to invite up to three people as team members.

Remember that, in order to successfully activate and use ITM Platform Teambot, you and the people you invite have to be members of the same Slack team.

How to use ITM Platform Teambot for Slack

How to use ITM Platform Teambot for Slack

This article includes a list with the commands you can use on ITM Platform Teambot for Slack.

If you haven’t activated ITM Platform Teambot, the following article will walk you through the process.

Note our no exact name policy: In commands where you need to specify the name of a task or a project, there is no need to type the entire name. We will show you the corresponding tasks or projects we found and by clicking the corresponding button you can confirm your choice.

If you need more help, please drop us a note through /itmplatform feedback


List tasks and projects

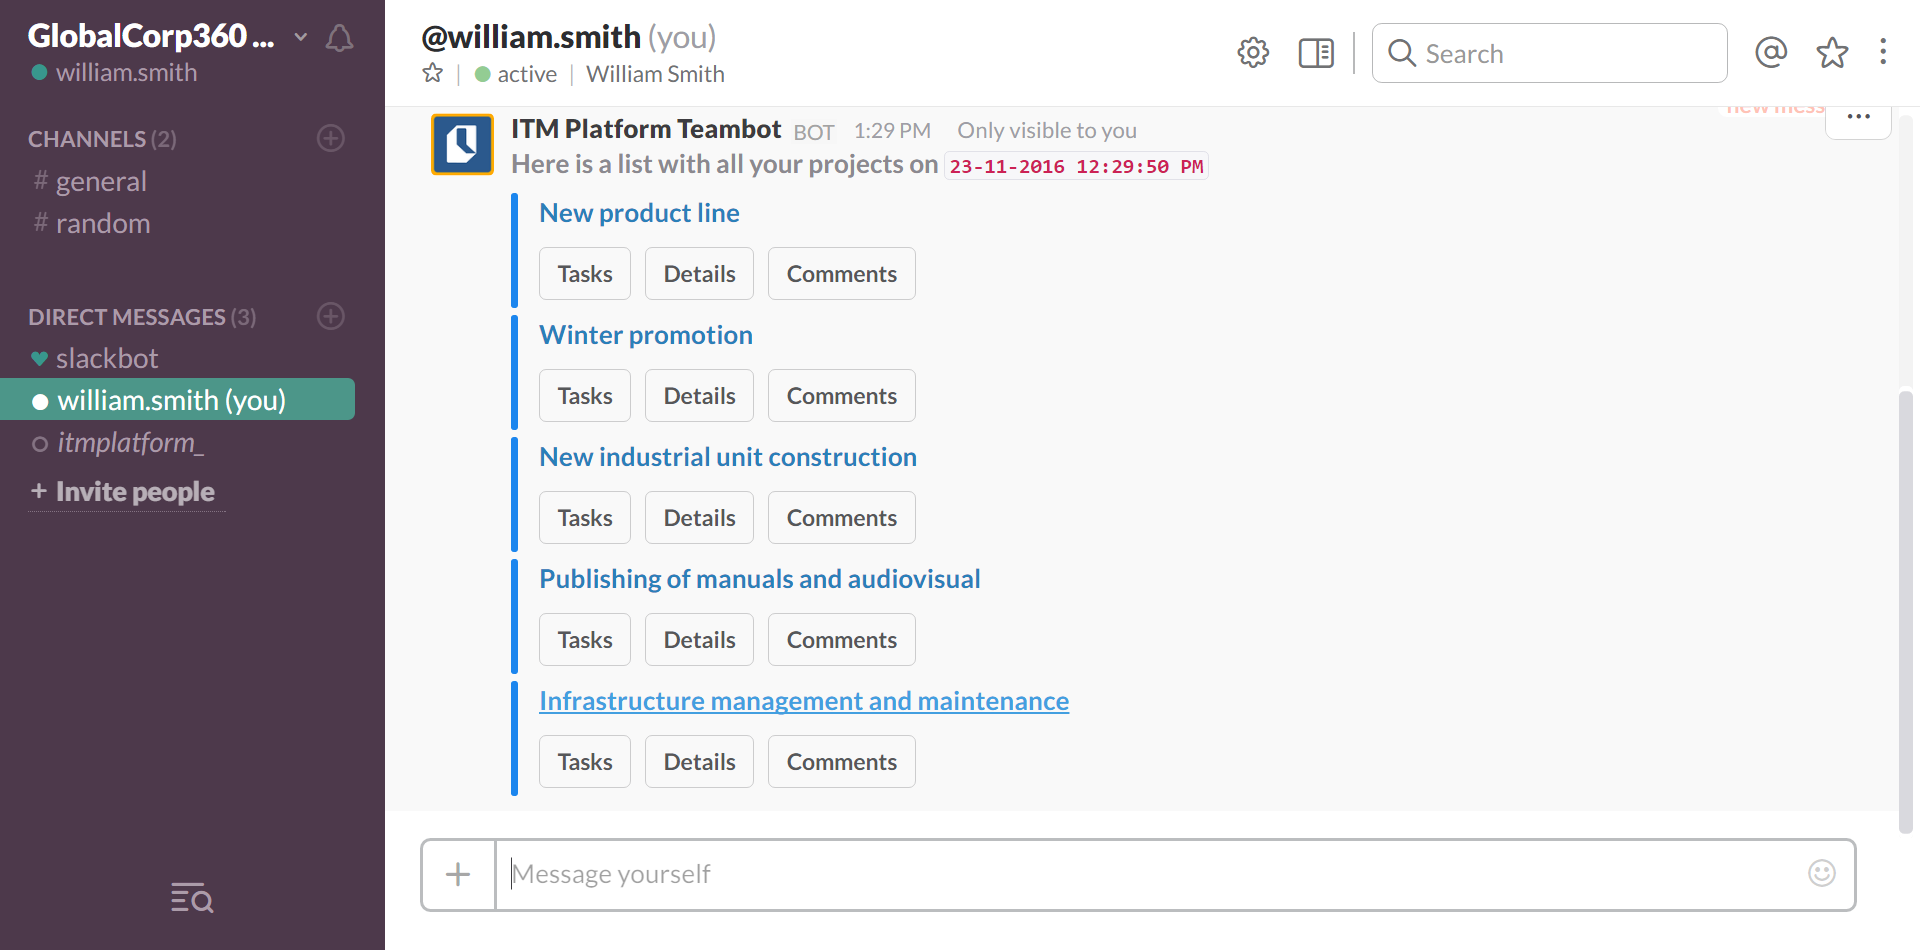
Get a list of all the project or tasks you are assigned to:

/itmplatform list [projects| tasks] of [project name] on [date]

/itmplatform list [projects| tasks] of [project name] between [start date] and [end date]

  • Example: /itmplatform list
  • Example: /itmplatform list projects
  • Example: /itmplatform list tasks

You can use date filters using “on” for exact dates or “between” to define a date range

  • Example: /itmplatform list tasks on 23-09-2016
  • Example: /itmplatform list projects between 01-09-2016 and 01-11-2016

Use the word “of” to limit the task list to a particular project only, specifying the project name after the word “of”

  • Example: /itmplatform list tasks of Software Development Project

Note: many of the commands below can easily be executed through the buttons we provide when retrieving a list of projects or tasks. 

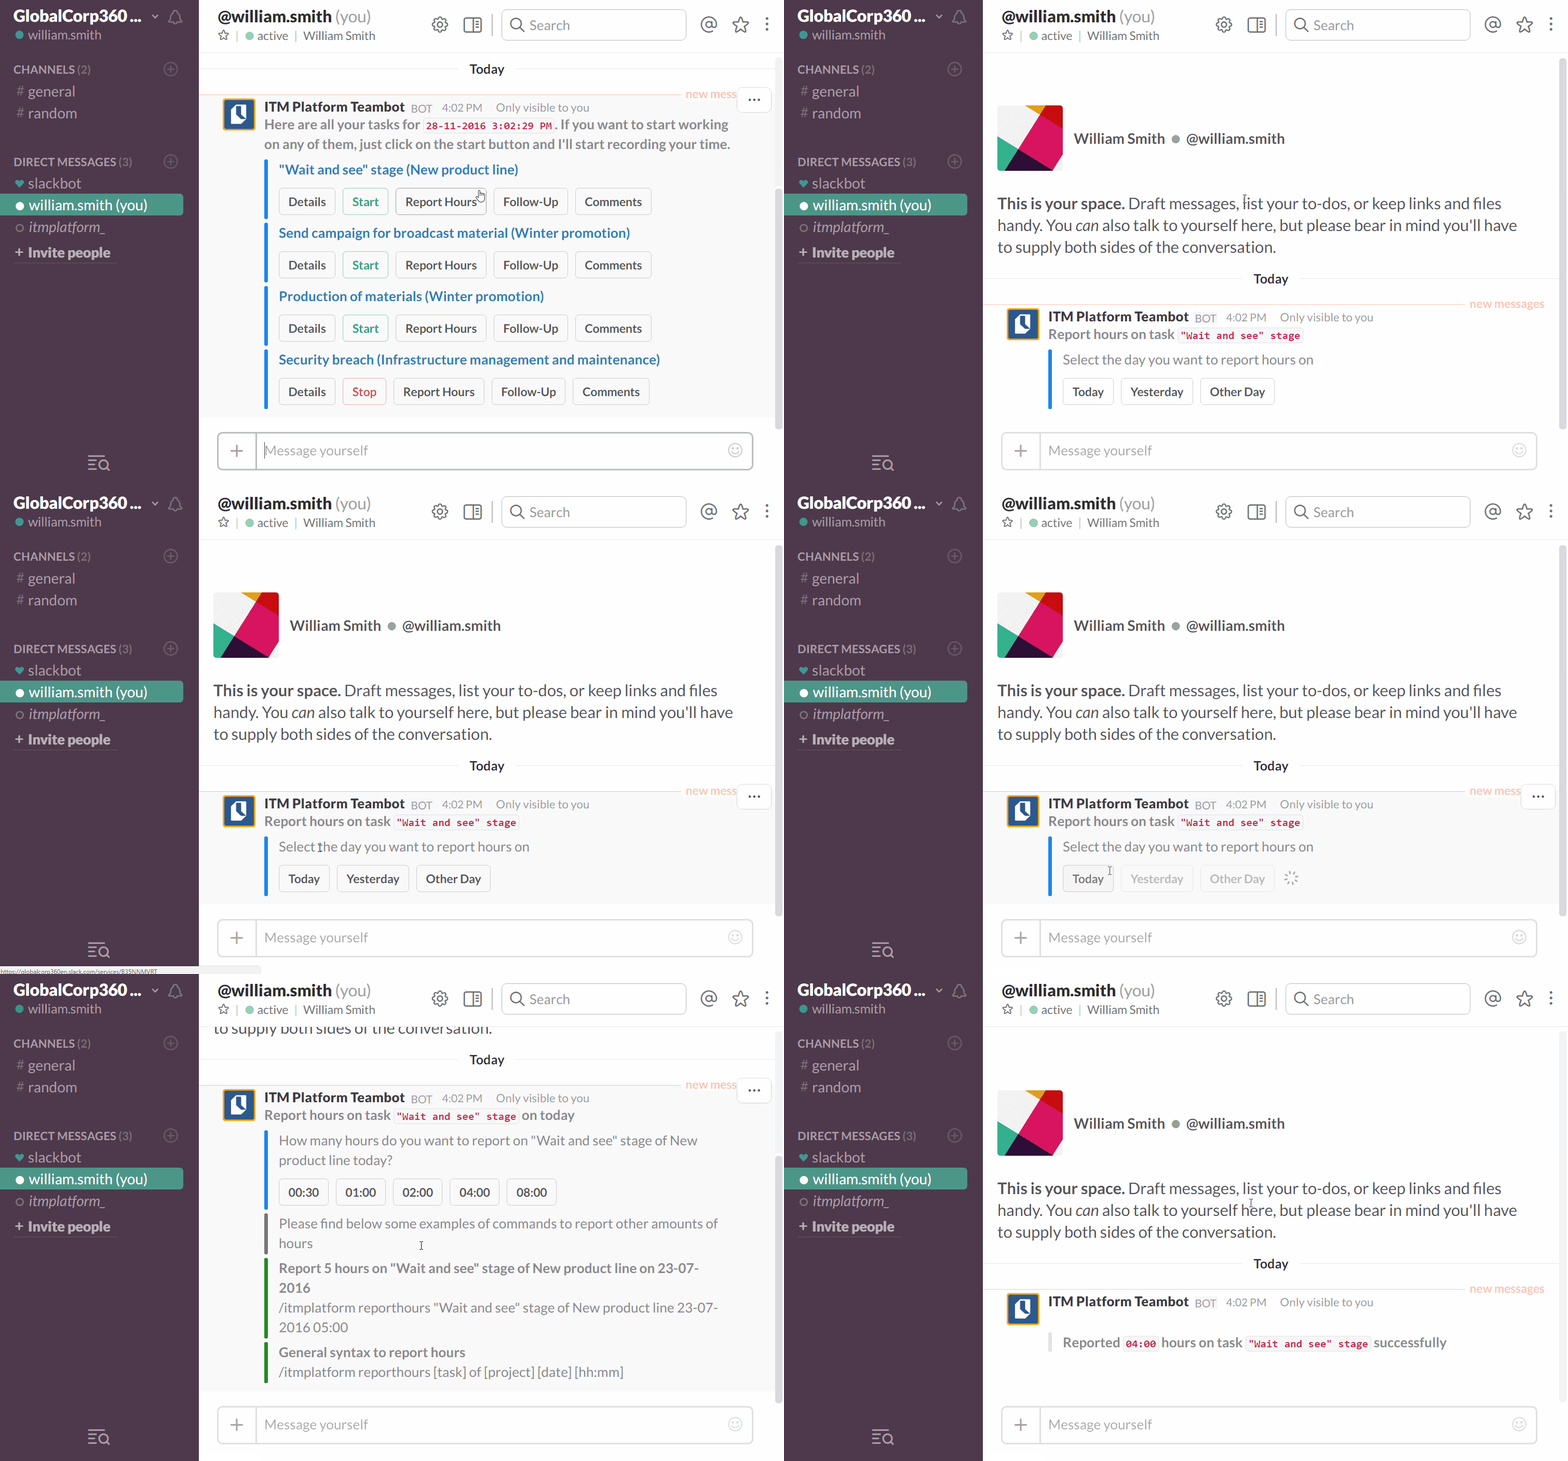
Report hours on a task

/itmplatform reporthours [task] of [project] [date] [hh:mm]

If you leave the date empty, hours will be reported for today.

  • Example: /itmplatform reporthours testing of development project 23-07-2016 05:00

Track a project or a task’s progress

/itmplatform progress [task | project] of [project] percentage

The command allows you to check a task or a project. You can specify the task’s name, the project’s name, or you can use the word “of” to refer to a project in particular.

Leave a comment on a project or task

/itmplatform comment on [task | project] of [project]: your comment

The command allows you to leave a comment on either a task or a project. You can either specify just the task name or just the project name or alternatively use the word “of” to refer to a task of a particular project.

  • Example: /itmplatform comment on development project this is going well
  • Example: /itmplatform comment on testing of development project this is going well

Show a list of the available commands and its syntax

/itmplatform help

Of course, you can always send us direct feedback to support@itmplatform.com. We will respond in no time.

How to integrate JIRA with ITM Platform

Integrate JIRA with ITM Platform

With the JIRA connector, managing the time and productivity of your developers is easier than ever. You can push projects and issues from JIRA onto ITM Platform or plan with ITM Platform and push projects and issues to Jira Software.

The Jira Connector is a built-in extension in your ITM Platform environment. You will find them in the Extensions Panel, under the CONFIGURATION menu.

You will notice two sets: (v2) if you have an on-premises v2 API installation and (v3) if you use the cloud version of Jira Software, which uses the v3 API.

Establishing the connection

Click on the connector you wish to use, click on “Install,” then “Configure.”
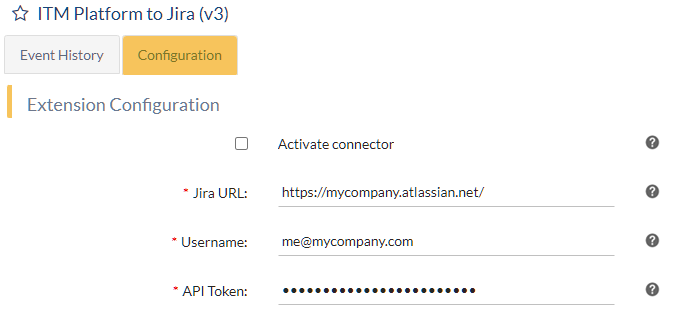
The v2 version of Jira admits user and password, but the v3 –shown in the picture-requires a Jira API Token. Learn how to generate it in the article Manage API tokens for your Atlassian account.

Click “Save” to register your credentials, test the connection, and proceed to the next steps.

Configuring ITM Platform to Jira

You can define whether projects and issues should be created in Jira if they don’t already exist by ticking the checkboxes that indicate so.

The next step will be the “mapping,” where you indicate the connector the equivalences between ITM Platform and Jira entities.

  • ITM Platform Project Type ↔ Jira Project Type
  • ITM Platform Task Type ↔ Jira Issue Type
  • ITM Platform Task Priority ↔ Jira Issue Priority

This connector is triggered by a system event, which means that every time there is a change in ITM Platform, it will synchronize it with Jira.

Configuring Jira to ITM Platform

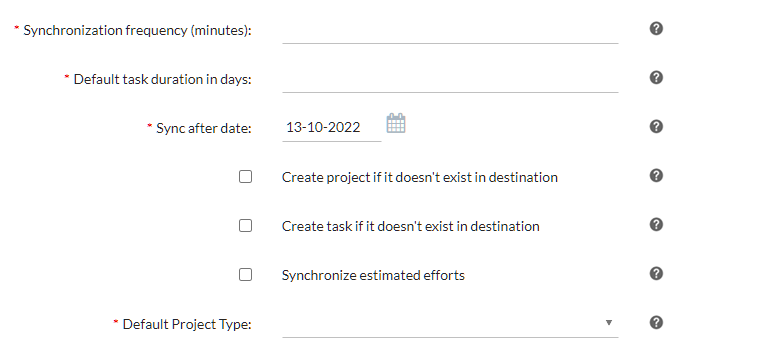
Apart from the synchronization and the date from which JIRA projects and issues should be synced, you can configure in the Connector which project categories and issue types should be synced to ITM Platform and which not. You can also set the default duration for issues/tasks with no due date in JIRA.
What will happen to my tasks and projects on ITM Platform?

That depends. Native ITM Platform projects and tasks will not be affected. Projects and issues pushed from Jira will respond to Jira. Their parameters on ITM Platform will be overwritten after each synchronization cycle. If you have projects with the same name when the connector synchronizes, it will add the Jira issues to the project on ITM Platform. We have included several adjustable settings so you can make the most of them:

  • Choose what you want to synchronize. Apply filters to the Connector so you only push relevant information to ITM Platform, including Jira project categories or issue types.
  • Choose how often you synchronize. It’s up to you whether you want updated info by the minute or hourly, daily, or weekly cycles.
  • Tell Connector when to start if you don’t want to import large amounts of historical data.

What about team members who are on Jira but not on ITM Platform?

If your team members on Jira don’t have an ITM Platform license, they will be added as “no-login” users so you can track their activity. You can also assign them a new license anytime if they need to access ITM Platform.

How are ITM Platform fields related to Jira Response keys?

For full disclosure, the full mapping of JIRA response keys with ITM entity fields is below.

  • Project name – Project Name
  • description – Description
  • key – Company Project Code
  • id – JiraProjectId

Project Type

  • name – Name Type
  • description – Type Description
  • id – JiraProjectTypeId

Task

  • summary – Task Name
  • description – Description
  • emailAddress – Task Creator
  • duedate – Task End
  • created – Created Date
  • updated – Updated Date
  • created – Task Start
  • id – JiraTaskId

Task Status

  • name – Status Name
  • description – Status Description
  • Category(name) – Status type
  • id – JiraStatusId

Priority name

  • Priority name – Type Name
  • Priority description – Type Description
  • Priority id – Priority ID

Task Effort

  • timeoriginalestimate – Estimated Effort
  • timespent – Actual Effort Accepted
  • Task Team emailAddress – Project Team Members (get username from the assignee Email Address and first insert in the project team and then in task team).

Activate and track

Last, you will need to activate your connector and save. From then on, your ITM Platform account will be synchronized with Jira, and you will be able to track the synchronization actions in the Event History tab.

For more on extensions, refer to the Standard and Custom Extensions article