Project Workflow
Tutorial: Workflow configuration of project status.
In this tutorial, we will see how authorizations flows of status changes, or workflow, work.
What is the purpose of the project status workflow?
The workflow allows defining the flow of project status.
For example, we can define that projects whose status is “in draft” can only be changed to a “initiated” or “discarded” status with the approval of a member of the Technical Project Office of our organization.
Navigation: how to gain access to the configuration of status changes?
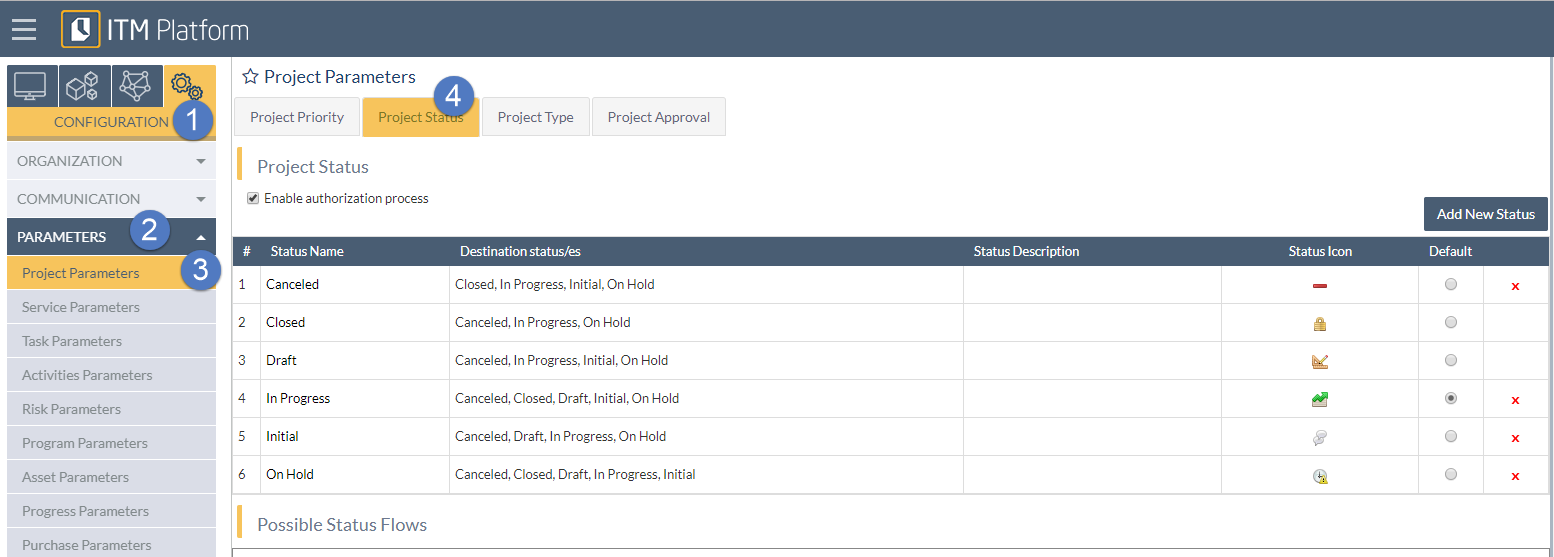
To navigate to the configuration of status changes, follow this route:
- “Configuration” area (1)
- “Parameters” drop-down (2)
- “Project parameters” section (3)
- “Project status” menu (4)
Note: To be able to edit the configuration of status changes, it is necessary to have the access permissions of a Full Access account.
Configuration method
There are four steps to define the flow from a given status:
1. Definition of status
The first step is that the organization to define what all the possible status of its projects are. ITM Platform customers carry out this step during the initial configuration of the environment.
Note: It is possible to select only one of those status as a predefined status, so that any new project starts with it.
Note: “Draft” and “closed” status are system status and cannot be deleted but their name can be edited to suit the peculiarities of each organization.
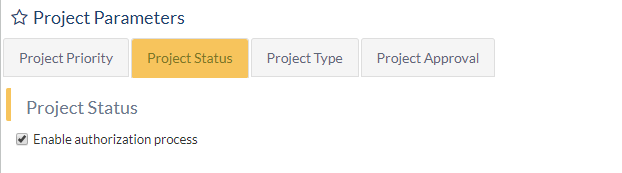
2. Enabling authorizations
In order to be able to customize the status flows, you must first enable the authorizations by clicking on the corresponding option.
3. Application of restrictions
To apply restrictions, it is necessary to select the origin status that you want to edit.
Next, the restrictions area applied in two steps:
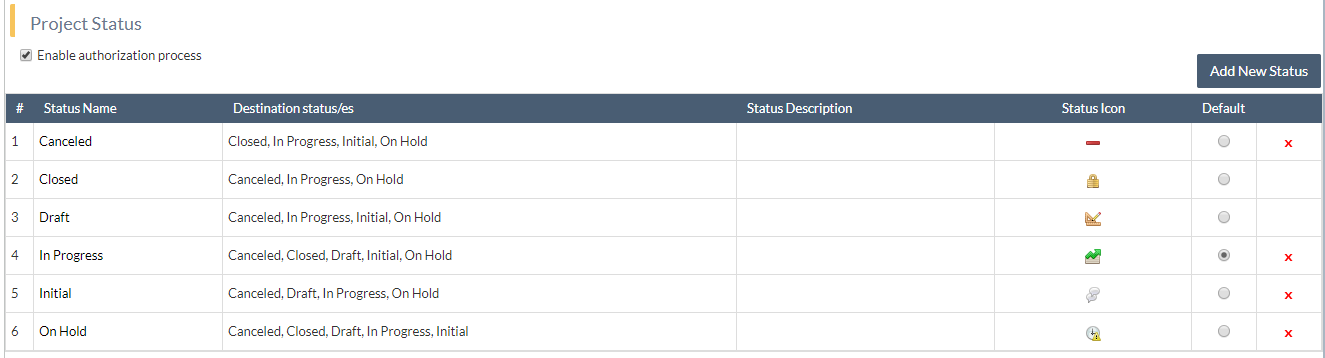
c1) Selection of destination status
When working from a origin status, within each status tab you choose which are the possible destinations to which the project can be moved from that stating point. By default, all project status that have been created before will appear as possible destinations.
c2) Application of conditional rules
Then, it is possible (although not mandatory) to create rules that establish an authorization process for the project change.
This means that each time the project status changes from the origin status in which we are located and under the selected conditions, the new status will have to be authorized by the person or persons indicated.
To create and configure a new rule, three steps are followed:
- Create a new rule (1)
- Edit the rule to define additional conditions
- Filters (2)
- Authorizers (3)
- Logical model (4)

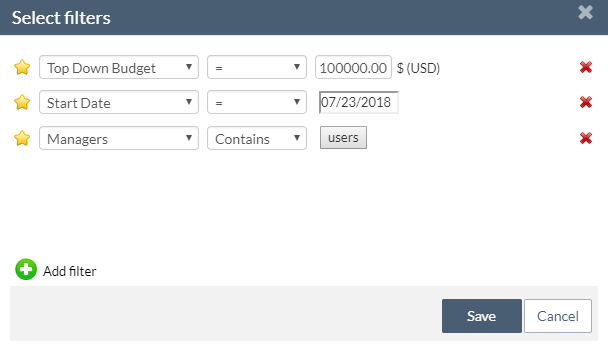
The conditions view allows you to set several filters:
4. Application for status change
Once the rules have been defined, project managers who wish to make a status change for which authorization is required, must submit an application.
The authorization request is processed directly from the general menu of the project, when editing the status fields.
On this screen, you can select the destination status, and add comments.
When saving the status, if the status change requires an authorization, the authorization status field will appear as “pending”.

5. Issuance of authorizations
To authorize the change of status from the account of an authorizer, you have to go to “My authorizations” section in “My desktop” area.
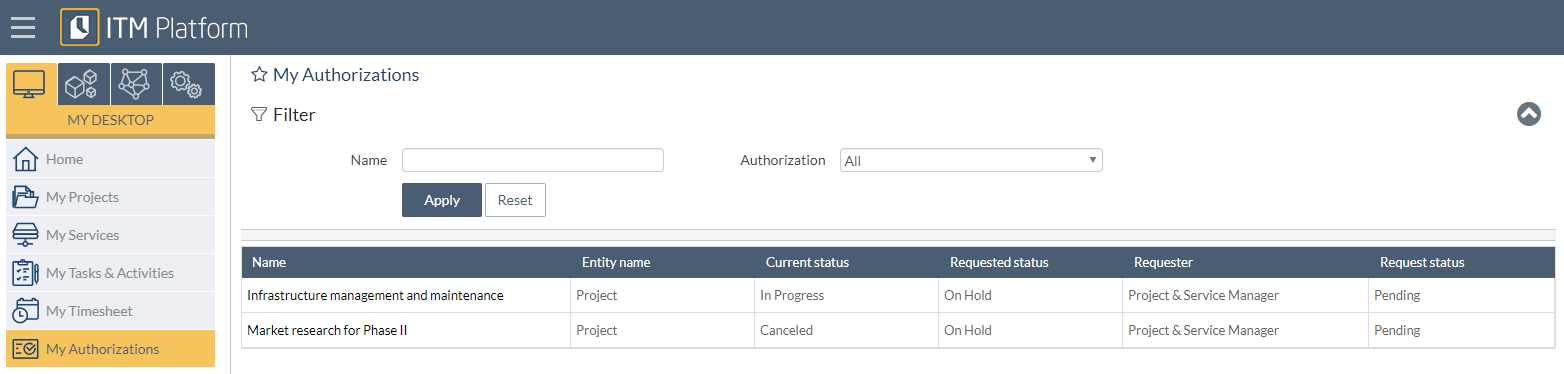
From this list, it is enough to choose the project whose status change needs to be approved and click on the approval button.