Mass copying purchases
Mass copying purchases
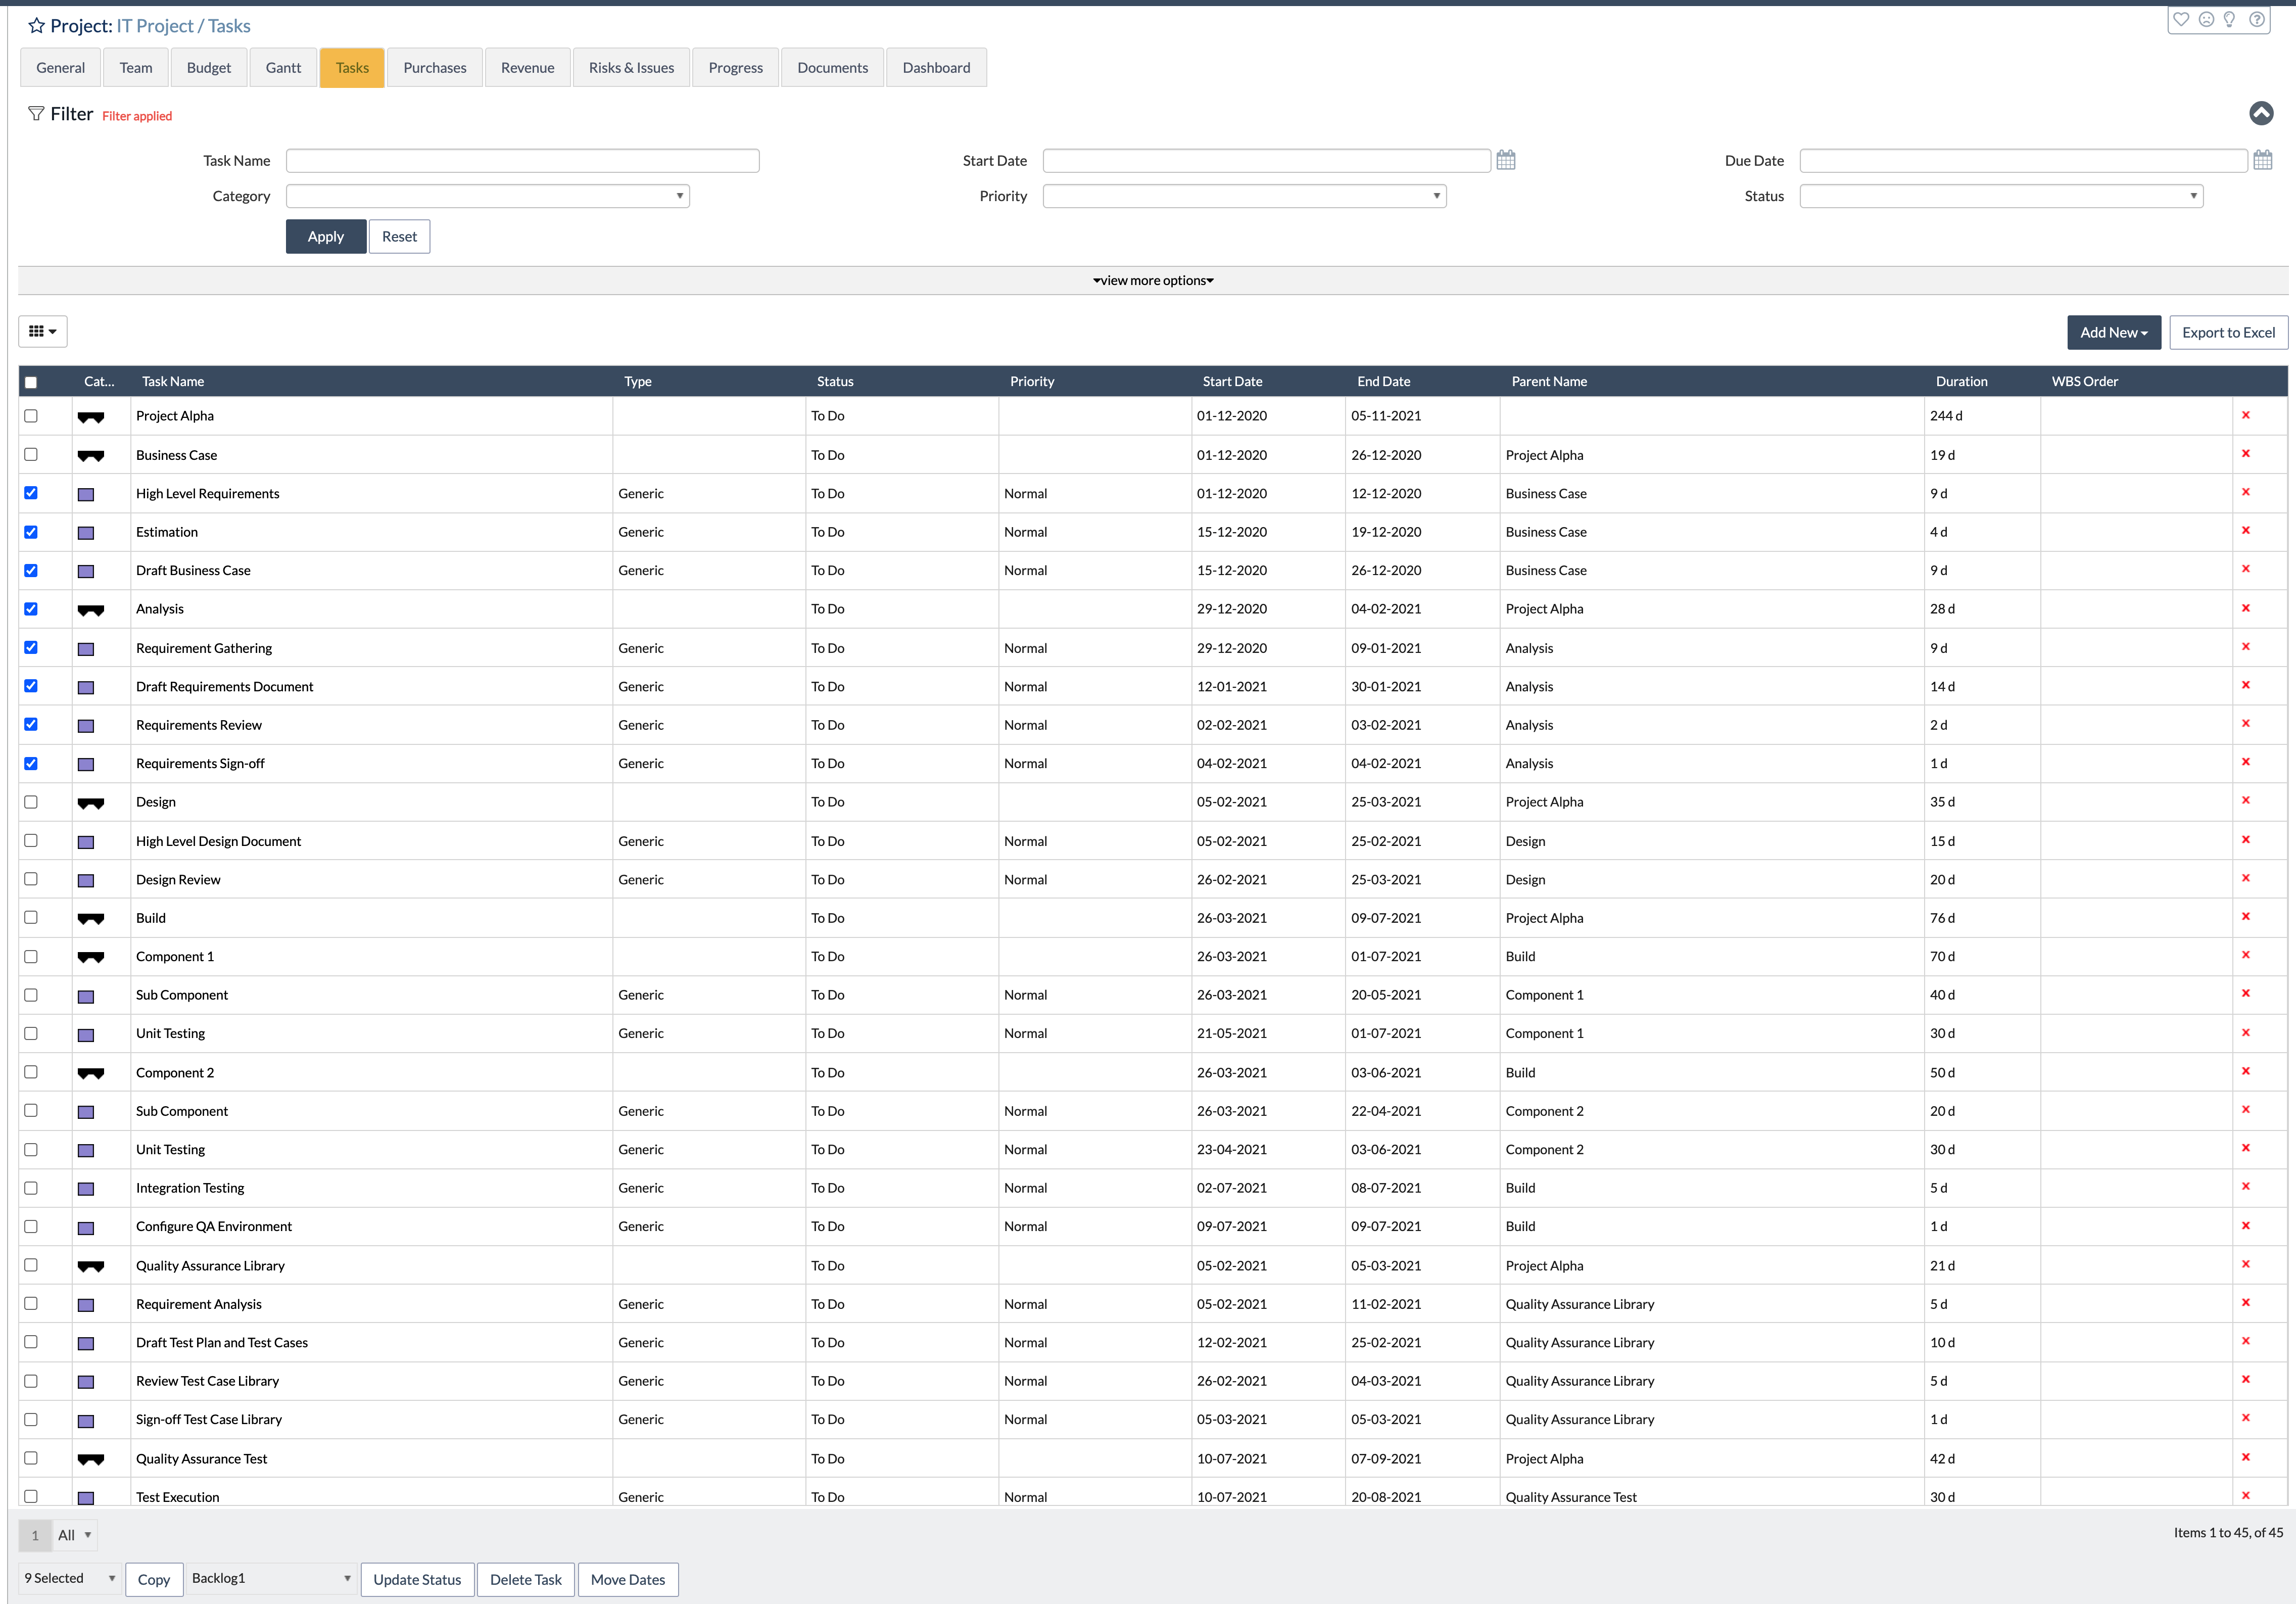
ITM Platform allows you to perform operations on a group of project purchases by navigating to the purchases section and selecting the purchases you require. The selection is made by ticking the tick box to the left of each purchase.
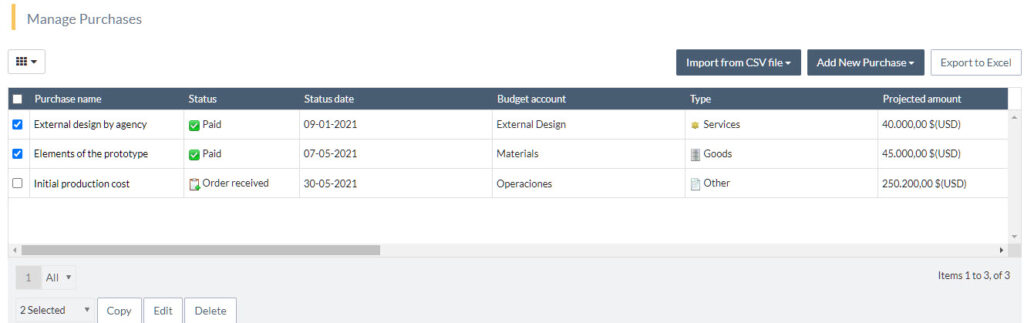
As soon as you start making your selection, you can see the number of purchases you selected at the bottom of the list, and three options are enabled.
- Copy: Copies the selected purchases to another project, as explained in more detail in the section on copying purchases. Apart from copying purchases, you can choose to include the tasks related to the purchases you are copying.
- Edit: It allows editing several fields of the selected purchases in a mass update process, as explained in the next section.
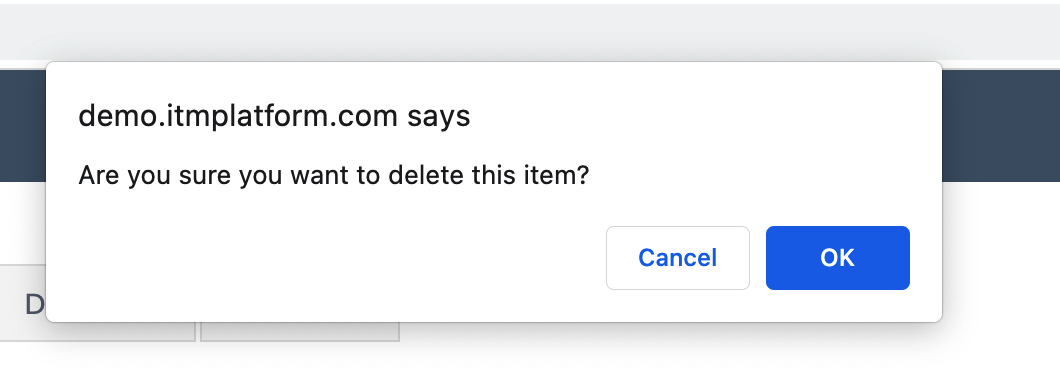
- Delete: Deletes all selected purchases. Before deleting the purchases, ITM Platform will ask for your confirmation.
Copying purchases
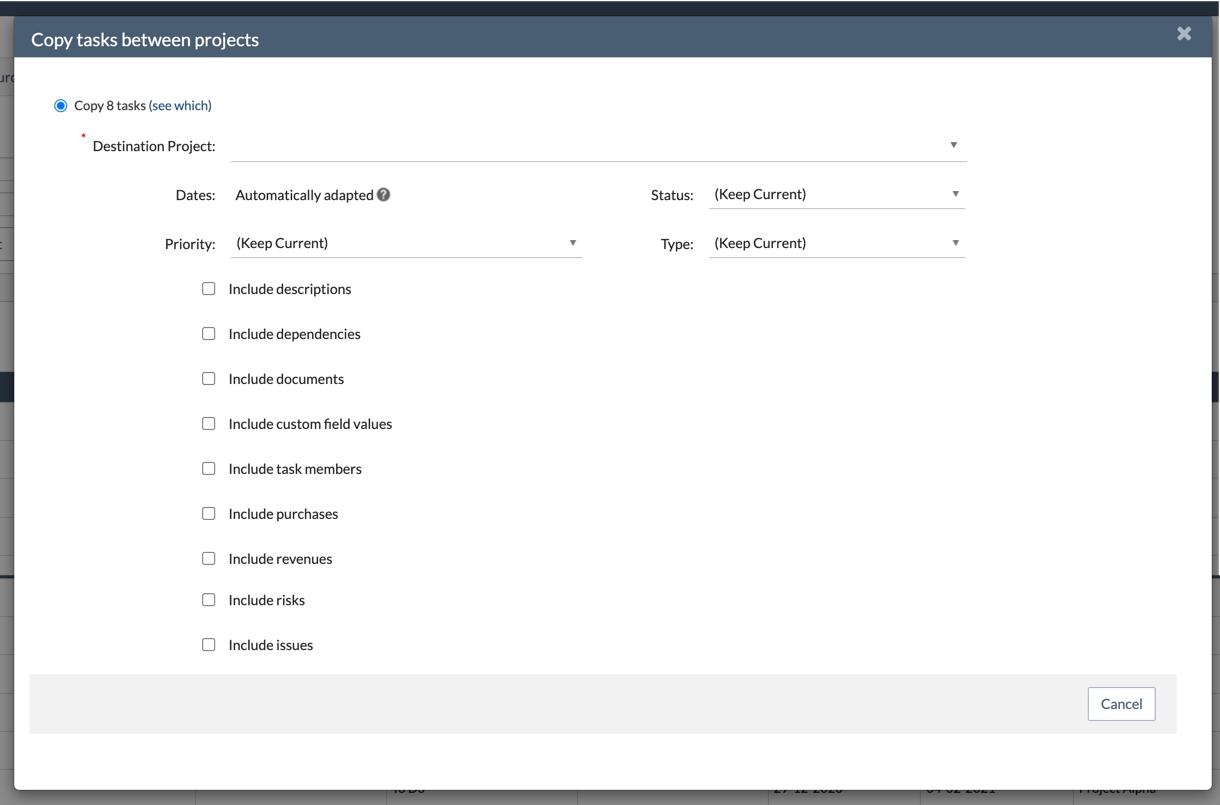
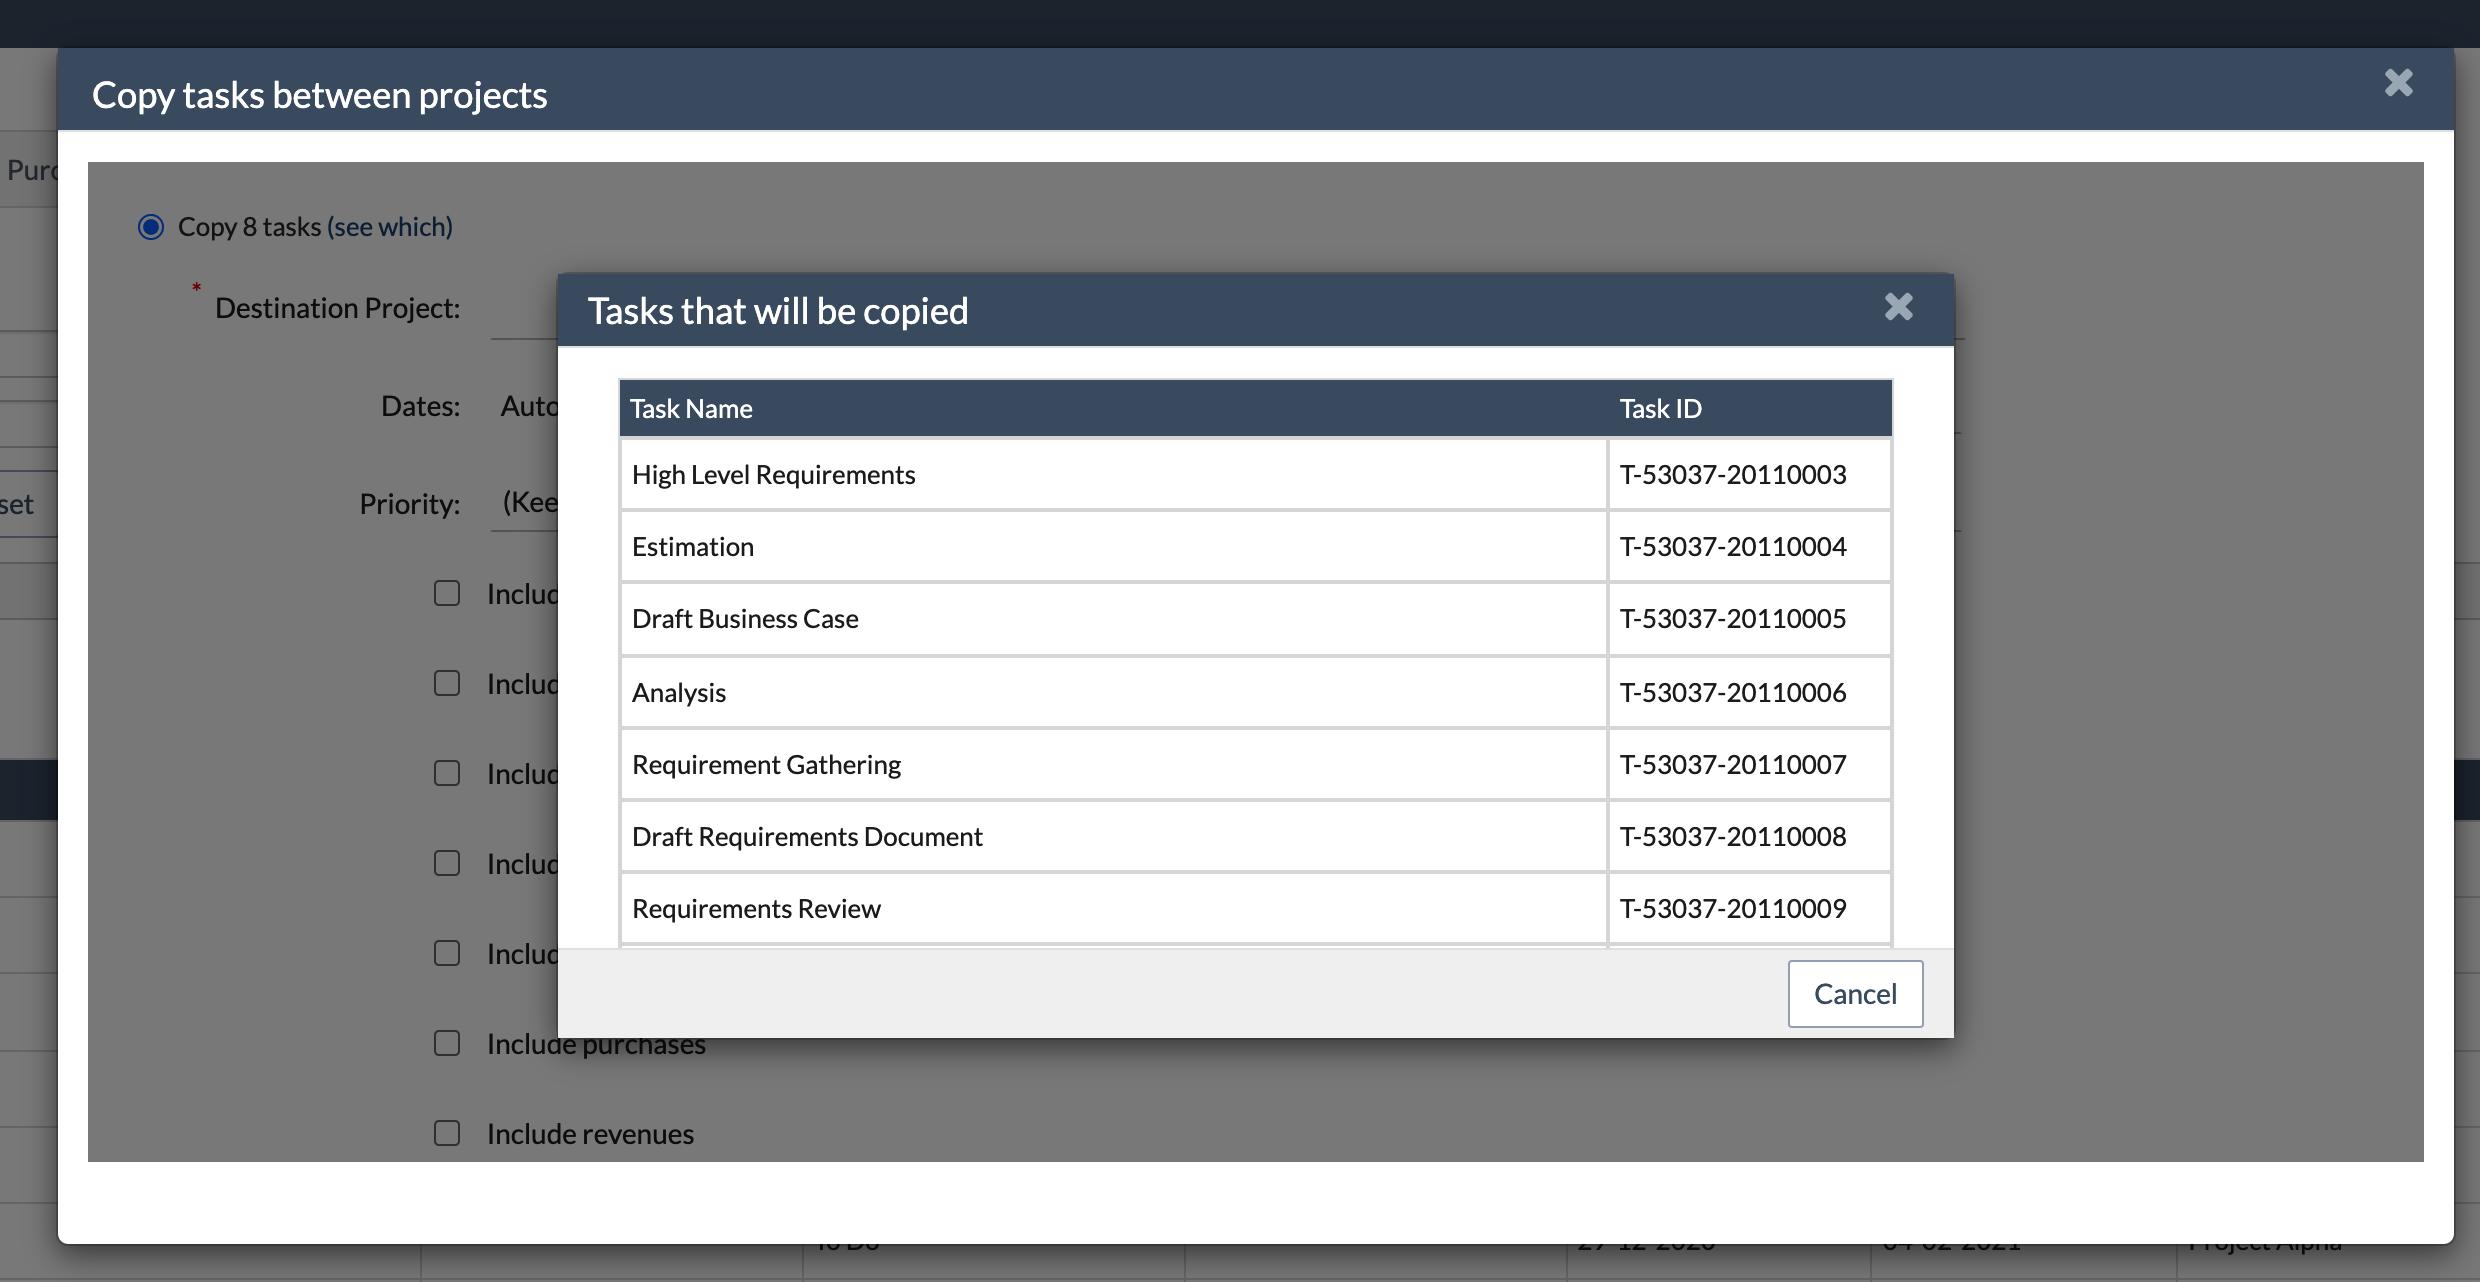
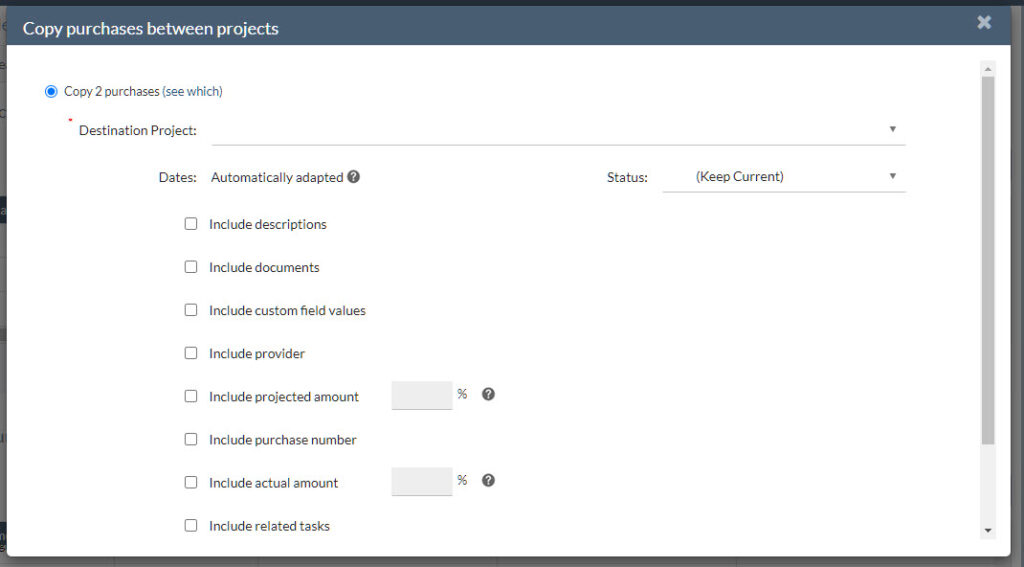
Clicking the option “Copy” opens a pop-up showing how many purchases will be copied.
Clicking on the option “see which,” you get a list of the selected purchases.
The pop-up allows setting several options that will be applied when copying the list of selected purchases.
- Destination Project: Select the project you want to copy the selected purchases from a dropdown list of all available projects. By writing in the field, you can filter the list.
- Dates: The due dates of all purchases will automatically be adapted based on the difference in start dates between the origin and destination project.
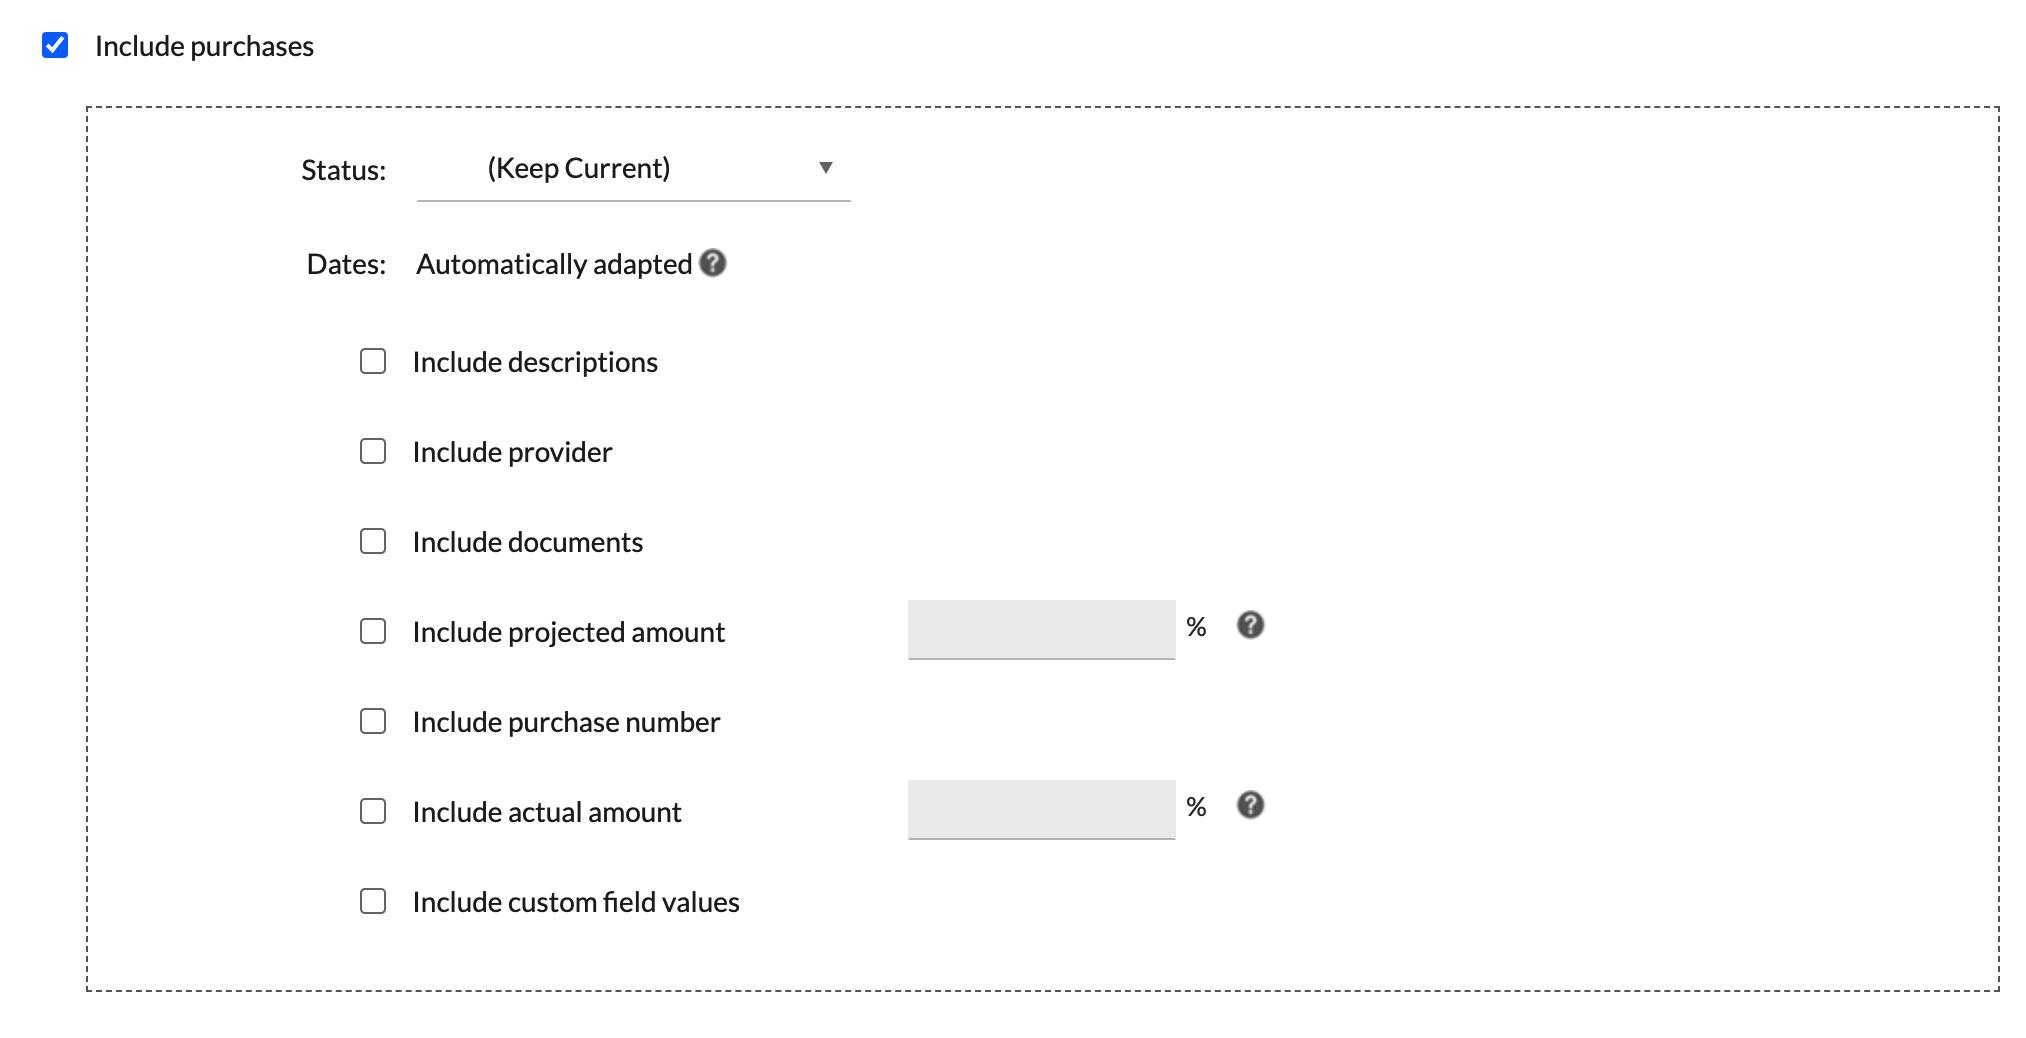
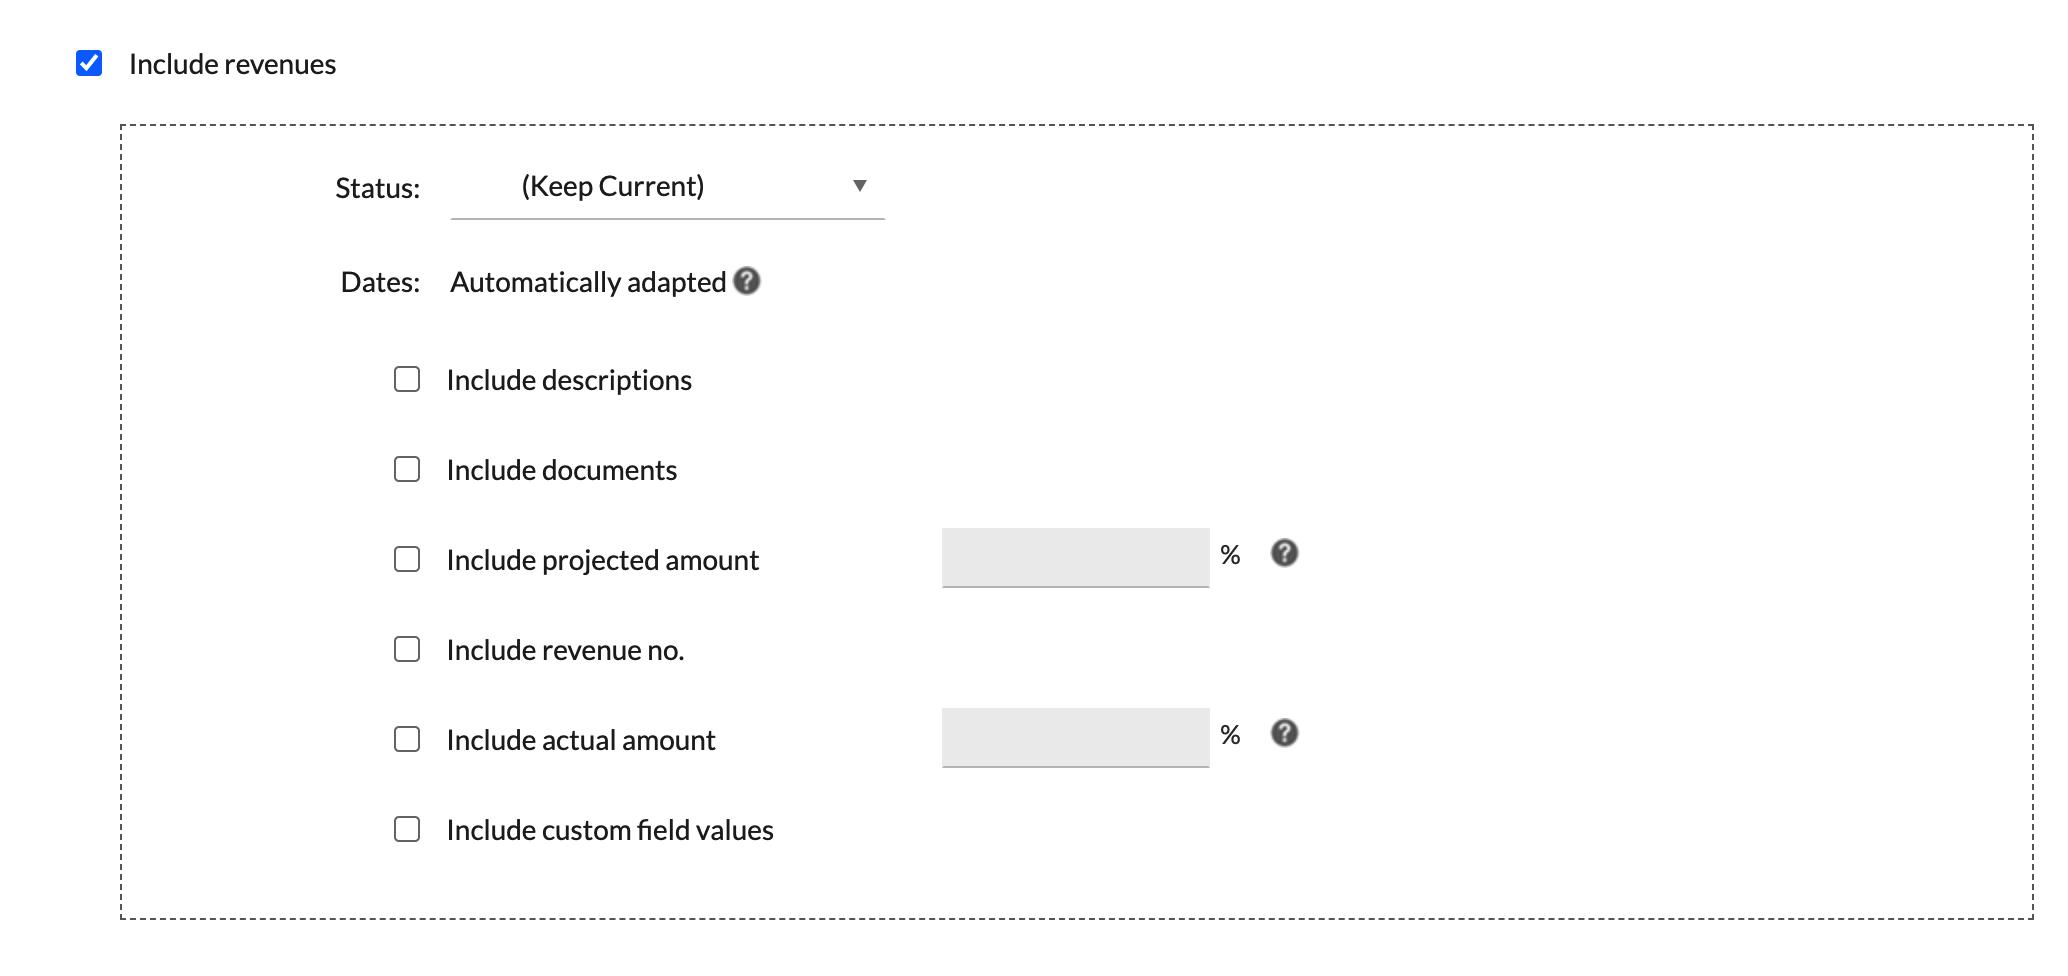
- Status: Select the status you want to apply to the purchases copied to the destination project or select “Keep Current” if you want to keep the status unchanged.
- Include descriptions: Select this option to include the descriptions in the copied purchases.
- Include documents: Select this option if you want to include the documents of the copied purchases.
- Include custom field values: Select this option if you want to include the custom field values of the copied purchases.
- Include provider: Select this option if you want to include the provider in the copied purchases.
- Include projected amount: Select this option if you want to include the projected amount of the copied purchases. Leave the field on the right empty if you want to copy the amounts of the origin project or set a percentage to multiply the projected amounts with.
- Include purchase number: Select this option to include the purchase number of the copied purchases.
Include actual amount: Select this option to include the actual amount of the copied purchases. Leave the field on the right empty if you want to copy the amounts of the origin project or set a percentage to multiply the actual amounts with. - Include related tasks: Select this option if you want to include the tasks related to the selected purchases, as explained in more detail in the “Include related tasks” section below.
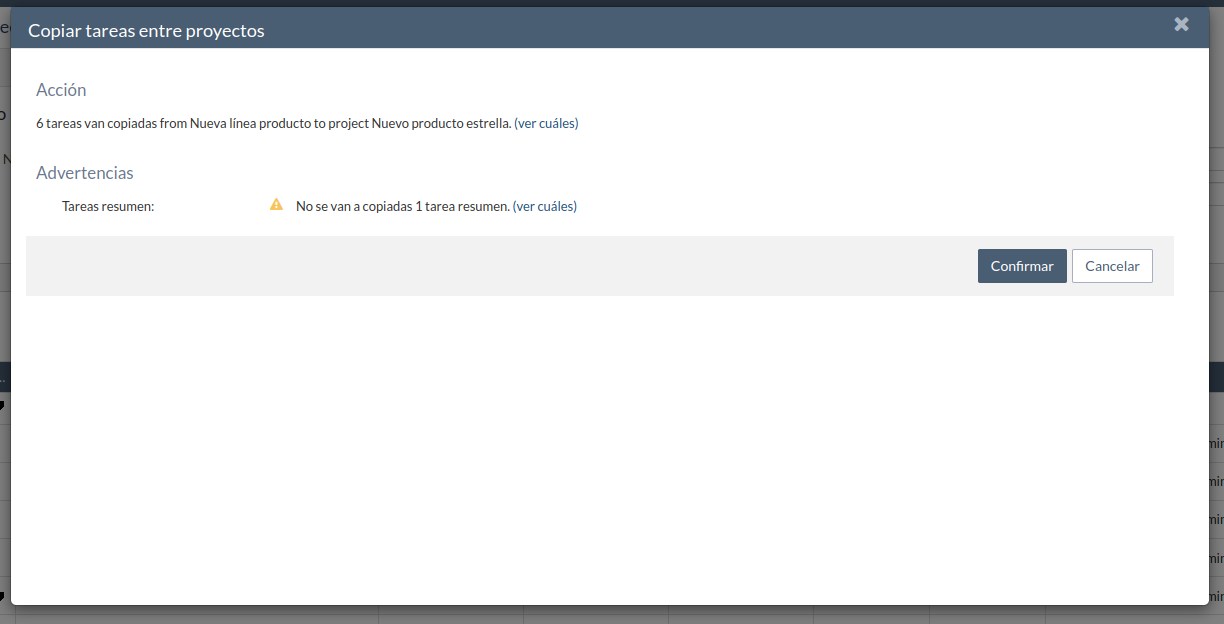
Click ” Next ” to proceed once you are happy with the selected options. Before copying the purchases, ITM Platform gives you a summary of the purchases to be copied and a list of warnings, if applicable.
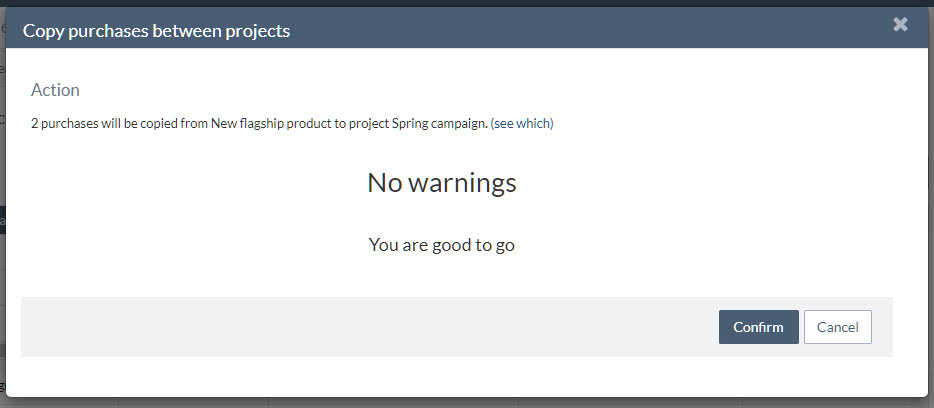
When you receive warnings on the summary screen, you can either choose to cancel and include additional purchases in the selection to fix these issues or choose to proceed. Once you confirm, the copied purchases may take up to a minute to appear in the destination project.
Include related tasks purchases
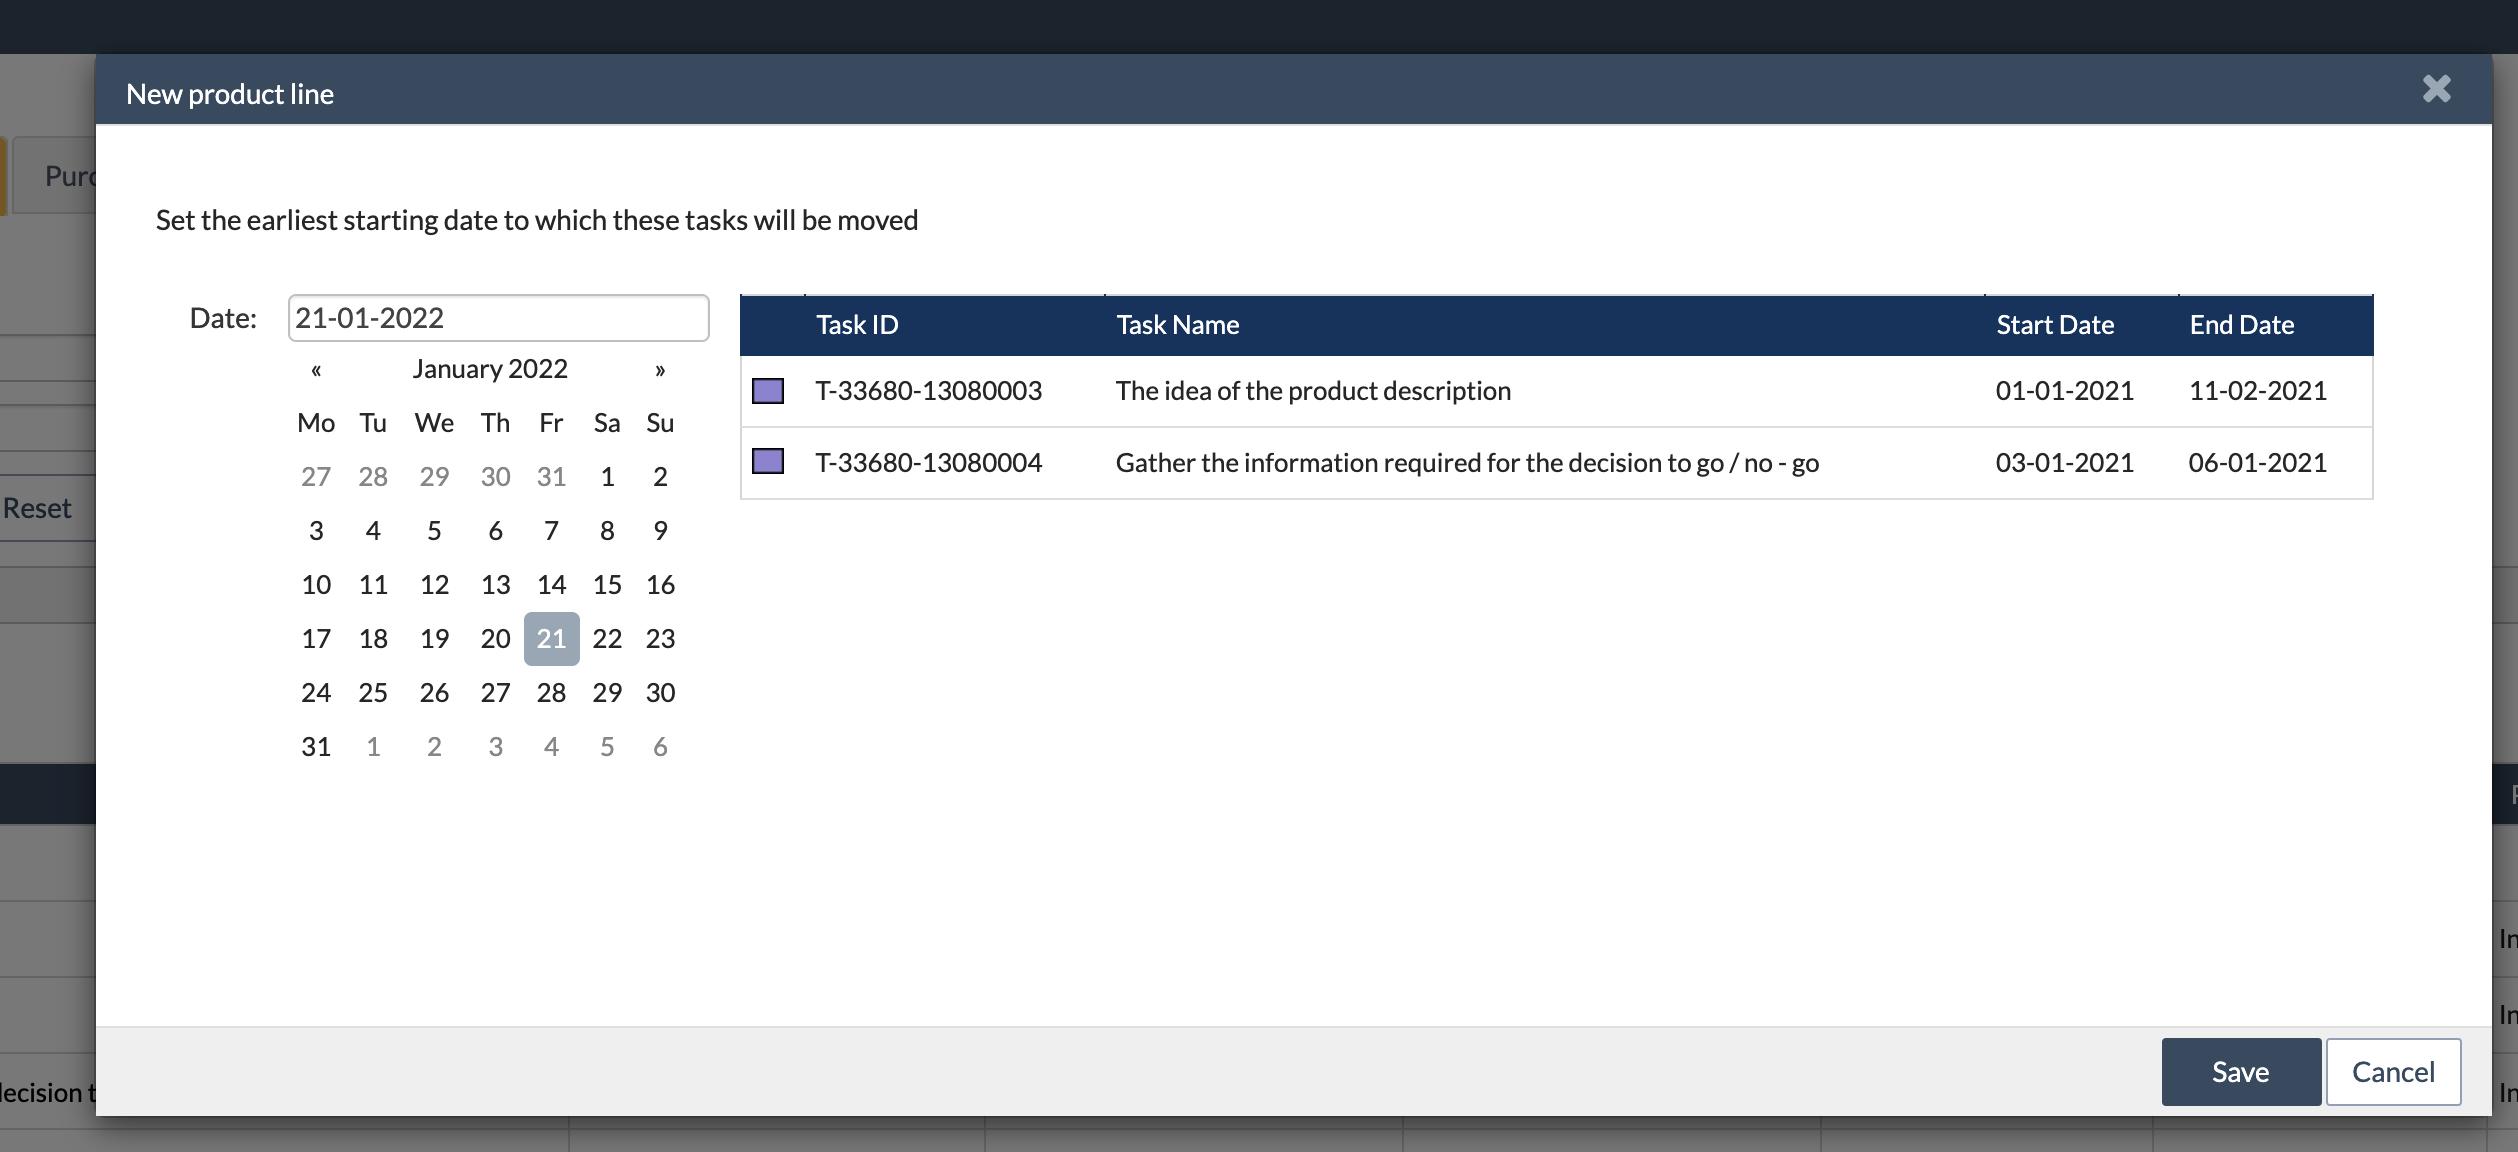
Select this option to include the purchases that depend on the tasks to be copied. When you select the option, a section with additional options is opened.

- Dates: The dates of all tasks will automatically be adapted based on the difference in start dates between the origin and destination project.
- Status: Select the status you want to apply to all tasks copied to the destination project or select “Keep Current” if you want to keep the status unchanged.
- Priority: Select the priority you want to apply to all tasks copied to the destination project or select “Keep Current” if you want to keep the priority unchanged.
- Type: Select the type you want to apply to all tasks copied to the destination project or select “Keep Current” if you want to keep the type unchanged.
- Include descriptions: Select this option to include the task descriptions in the copied tasks.
- Include documents: Select this option if you want to include the documents of the copied tasks.
- Include custom field values: Select this option if you want to include the custom field values of the copied tasks.
- Include dependencies: Select this option to include the relations between predecessor and copied tasks. Relations between predecessor tasks and copied tasks can only be copied if the predecessor task and the dependent task are included in the list of selected tasks.
- Include task members: Select this option to include the assigned task members on the tasks to be copied. A section with an additional option is opened when you select the option.
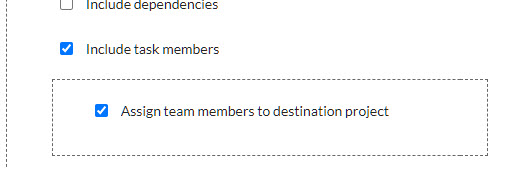
- Assign team members to the destination project. If you select this option, team members are automatically added to the destination project if they are task members on one or more copied tasks. If the option is unselected, any task member that is not a team member on the destination project will not be included.